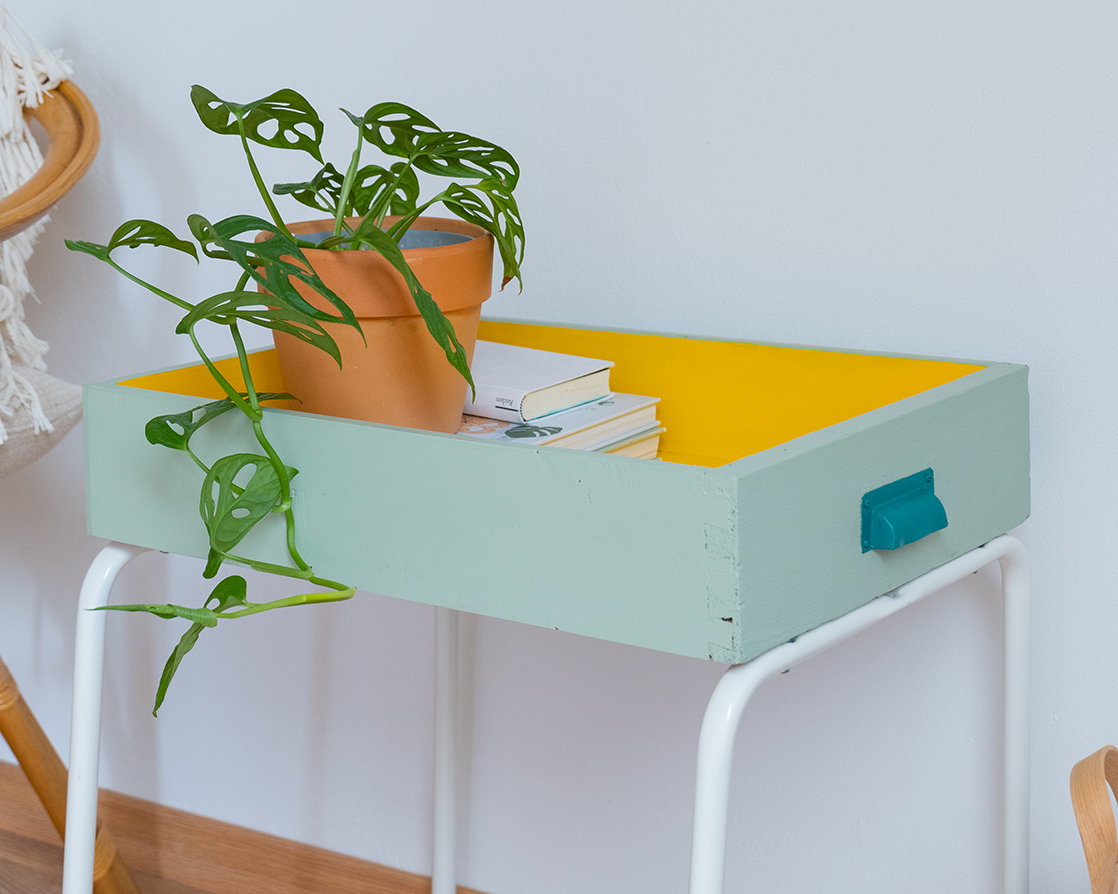
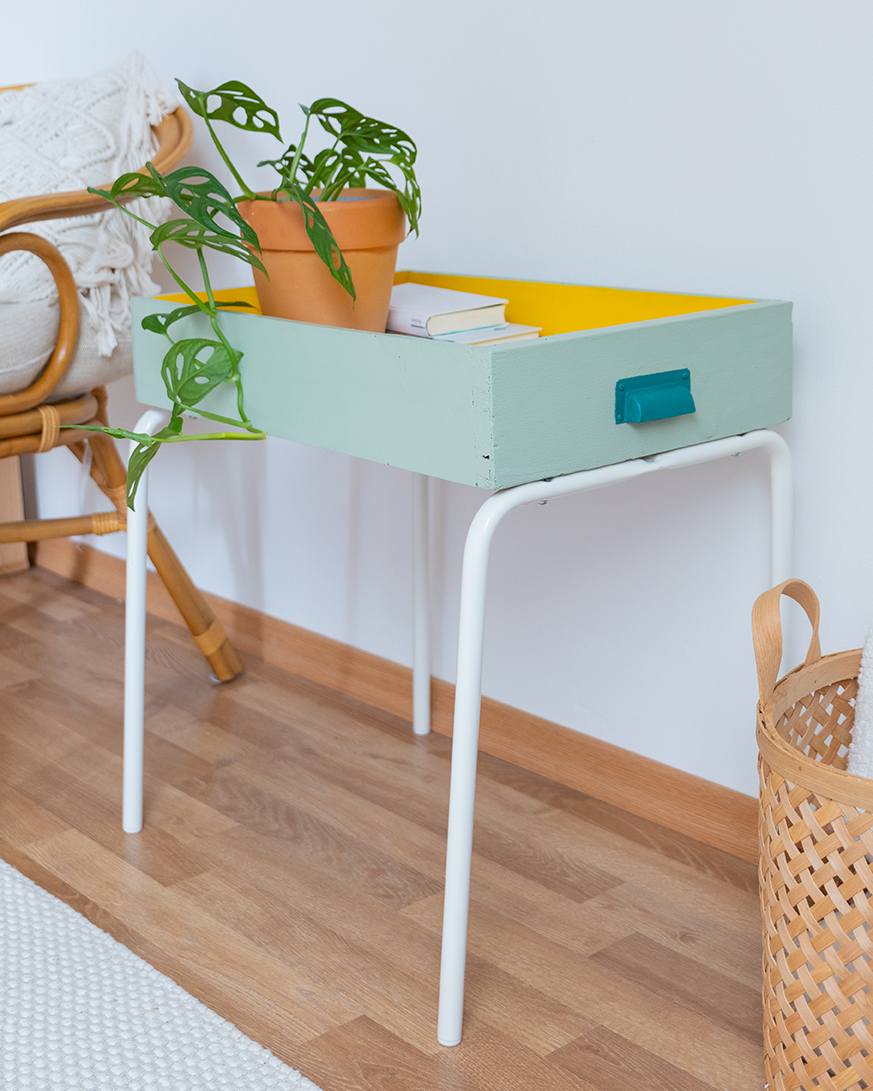
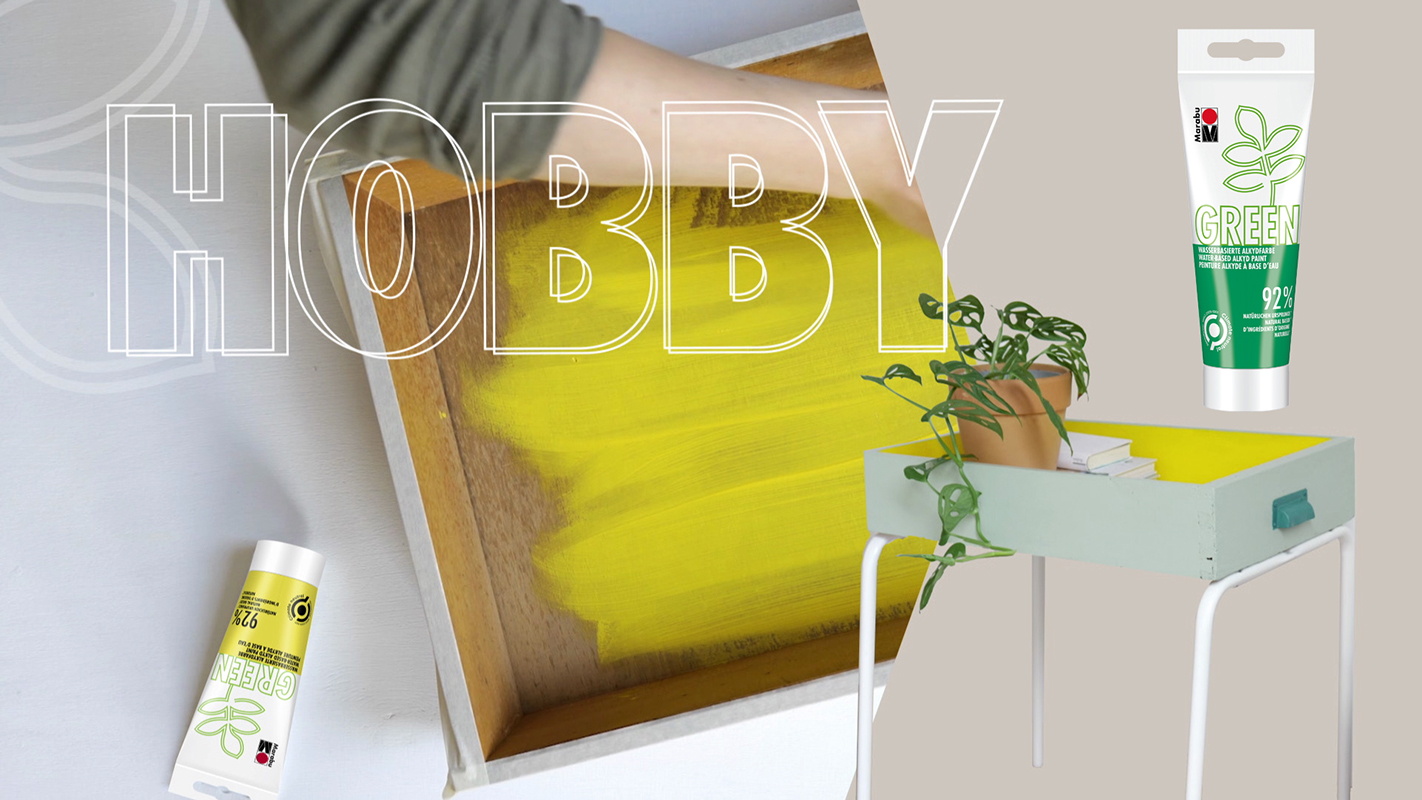
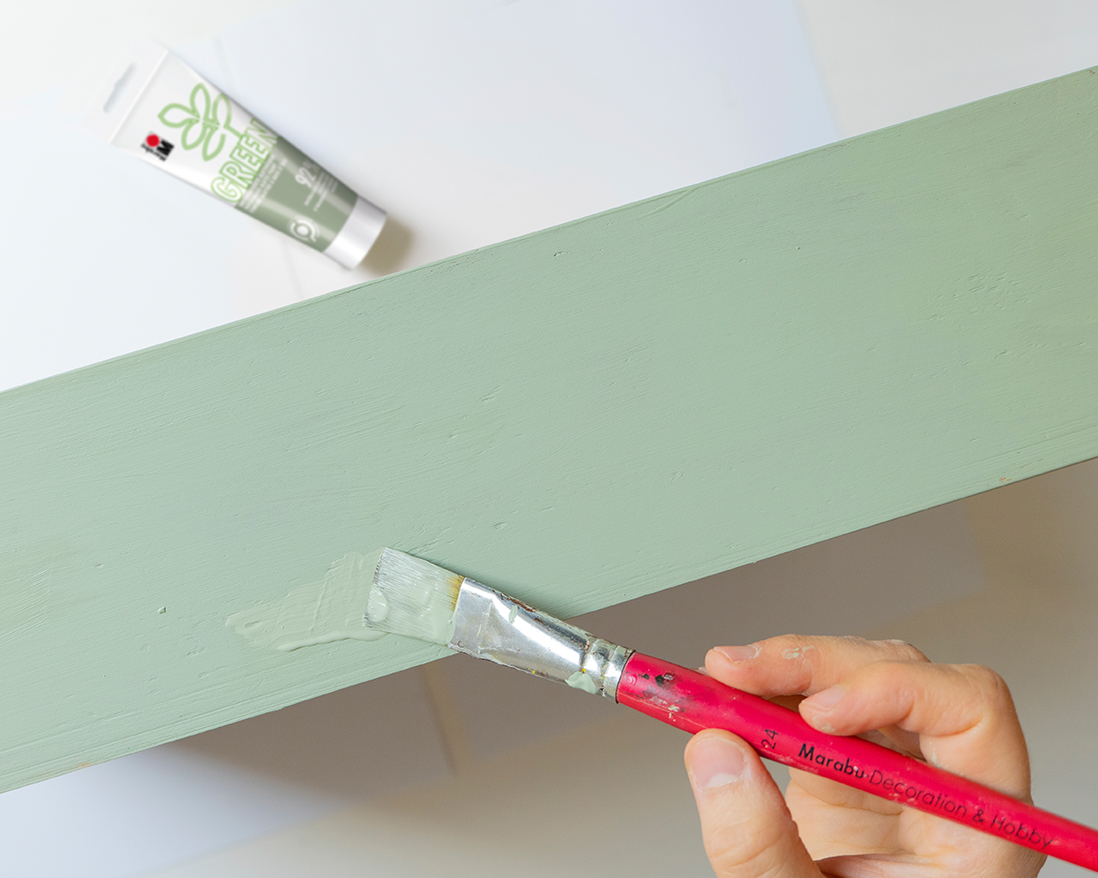
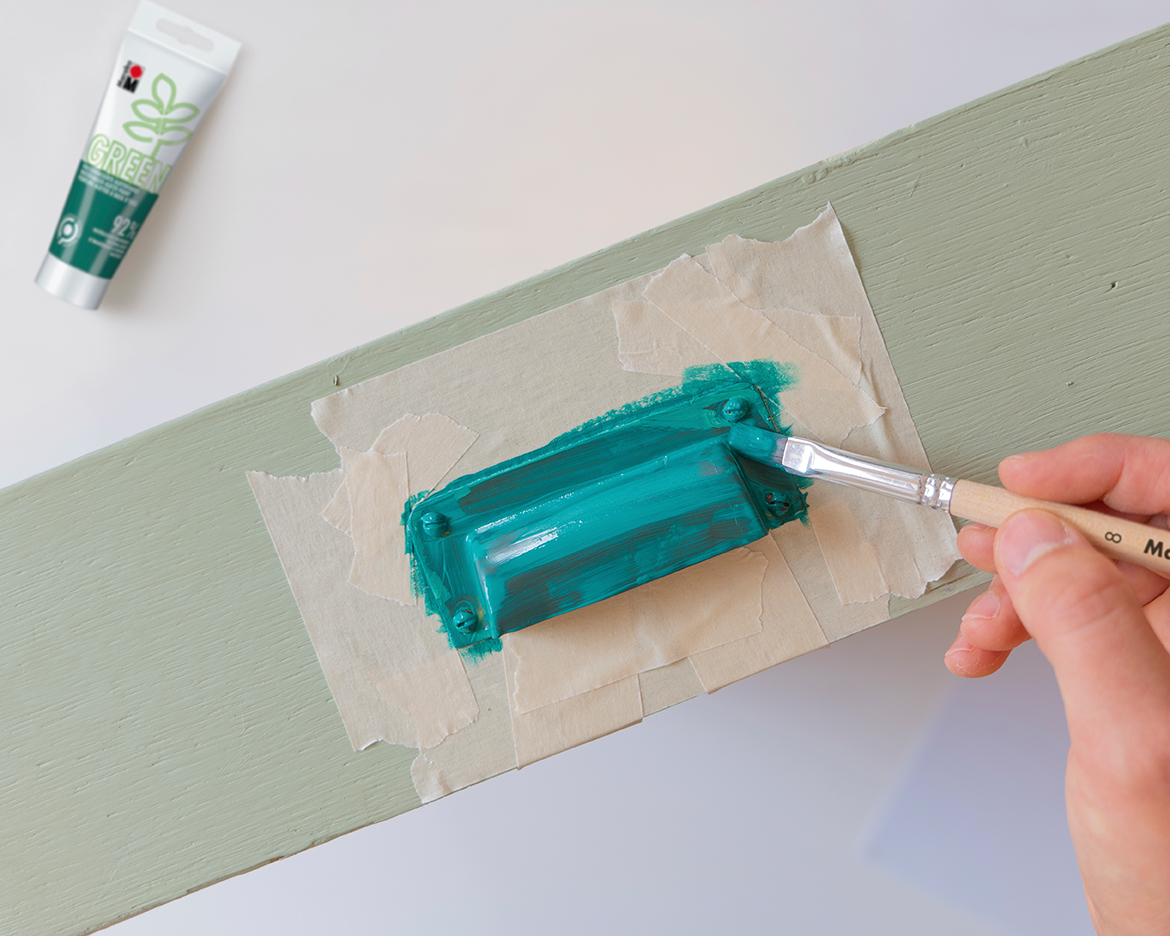
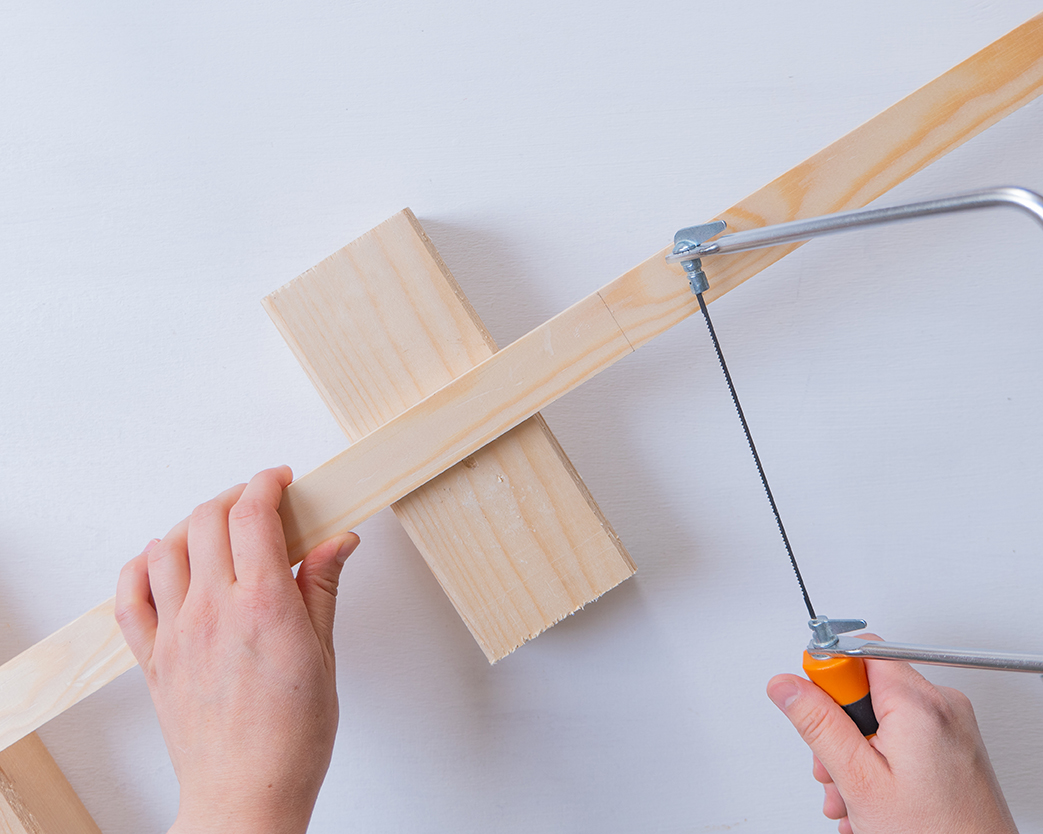
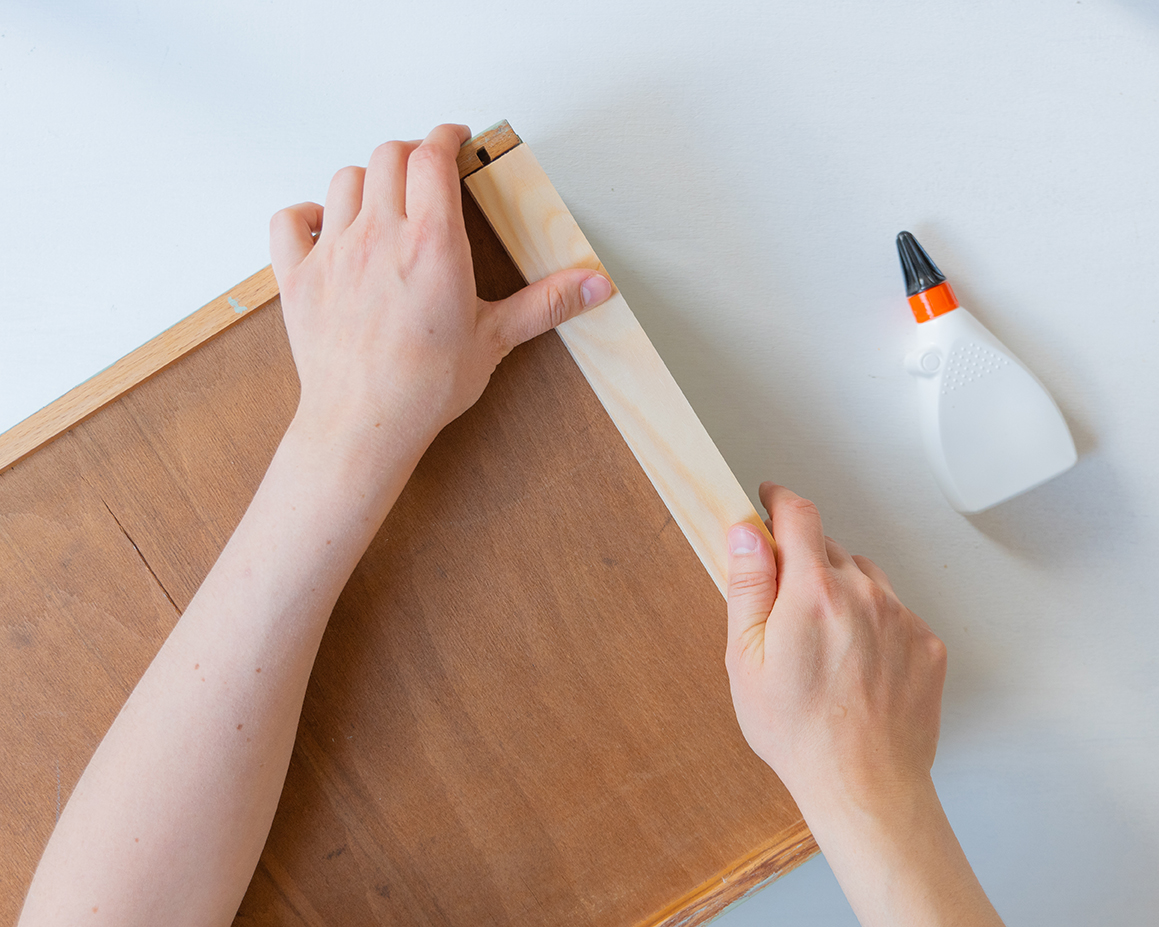
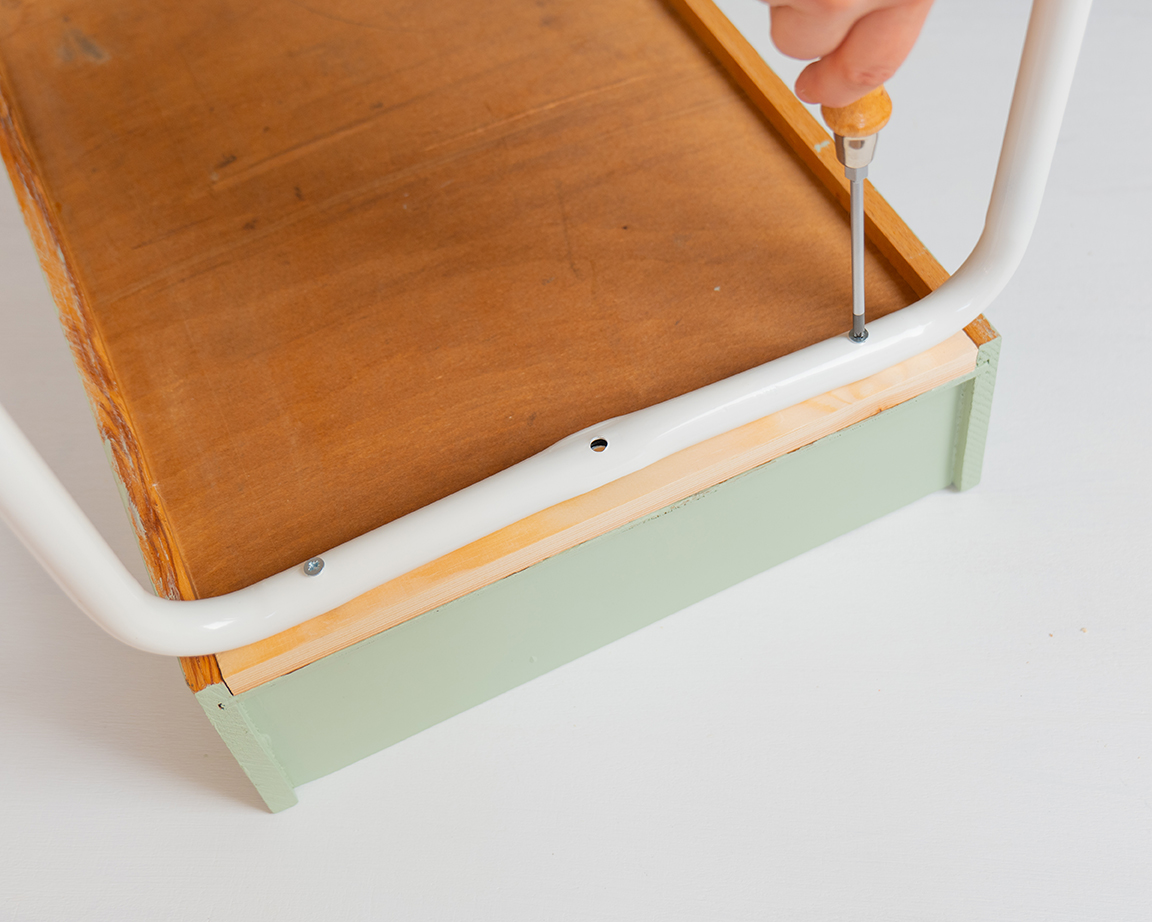
Side table from old drawer with Marabu GREEN alkyd paint

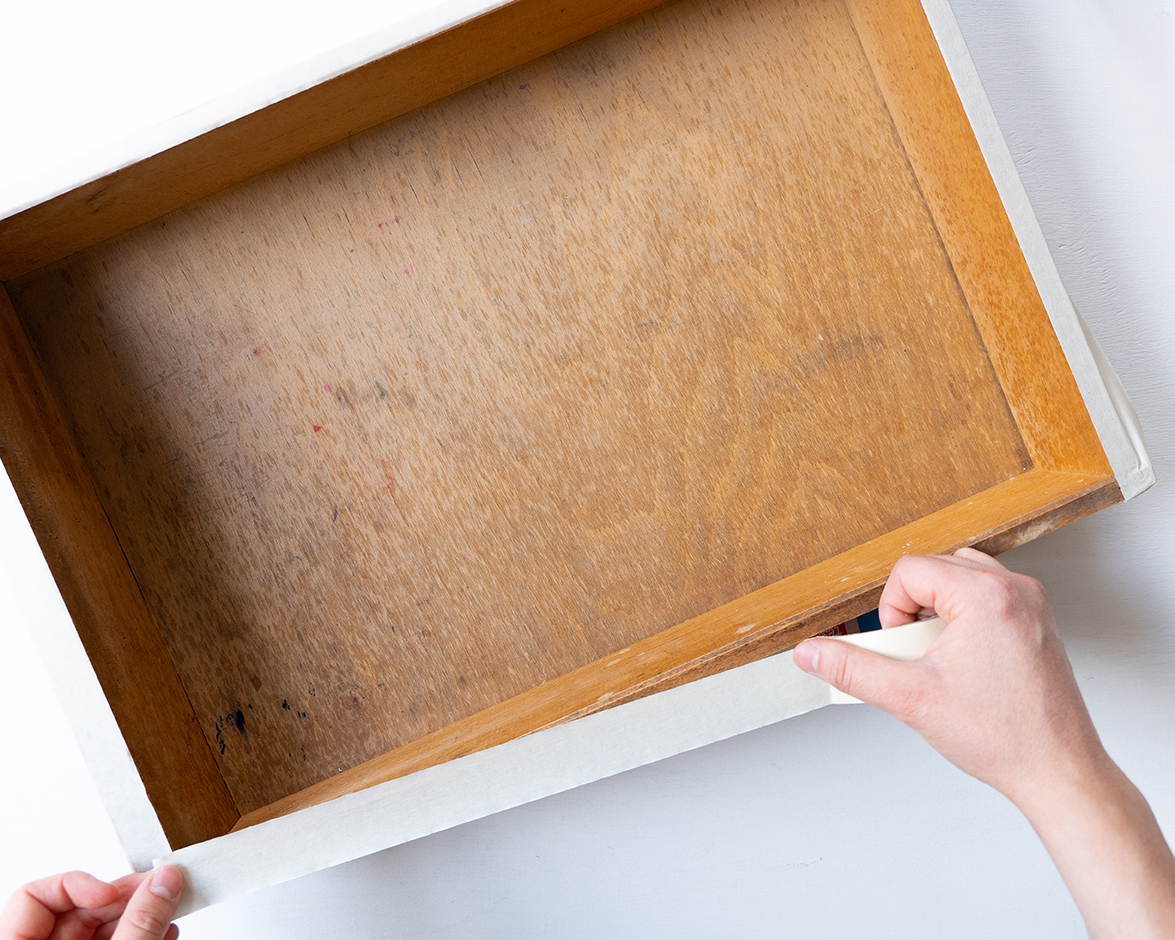
The old chest of drawers has had its day? The cupboard is ready for the bulky waste? But the drawers are still intact and far too good to throw away? Then upcycle your drawers into completely new pieces of furniture. A drawer, four legs and a new colour – that’s all you need for a new side table.

Share with friends
Marabu products you need...

…additionaly things you need

drawer
possibly wooden strip or wooden plate
saw
masking tape
sandpaper
metal legs
cordless drill with wood drill attachment
wood screws
screwdriver
Tips and Tricks

  • The Marabu GREEN paint is suitable for priming upcycling projects and much more. The creamy paint can be applied with a brush (hair, synthetic hair or bristle brush), a sponge or a paint roller. With the GREEN, large areas can be designed easily and evenly, as the individual brush strokes placed next to each other can be easily blended together.

How it is done:

  • Cover the work area well and have the working materials ready. Clean the drawer if necessary and sand it lightly with sandpaper. The wood must be clean, dry and dust-free so that the paint can adhere optimally.
  • First, colour the inside of the drawer. To do this, first mask off the top edge with adhesive tape.
  • Now paint the inside of the drawer with GREEN alkyd paint. Depending on the colour and wood tone, several coats are necessary. The paint should always dry well between the individual coats.
  • Once the inside of the drawer is completely dry, the tape can be used to mask off the inside edge to make the top edge a contrasting colour.
  • Also cover the four outer sides of the drawer with the contrasting colour. Allow everything to dry well.
  • Next, mask the area around the drawer handle with tape. Then paint the handle with the GREEN paint. Allow to dry again.
  • To make the drawer into a stable table, the legs must be screwed together at the same height on the underside. To do this, you can, for example, glue the drawer completely to a wooden board or glue two strips to the underside. This evens out any unevenness and creates two areas of equal height for screwing on the legs. Our drawer is still in good condition. Therefore, two slats are sufficient. The slats are simply sawn to the required length with a hand saw.
  • Then fix the moulding to the underside of the drawer with wood glue.
  • Finally, pre-drill the holes for the legs with the cordless drill and then fasten the legs with wood screws.

© 2024 Marabu Gmbh