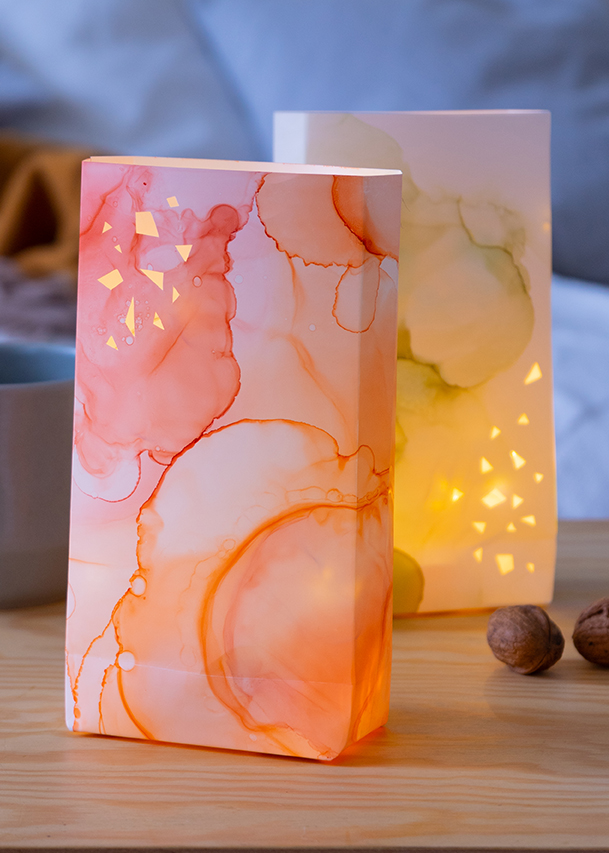
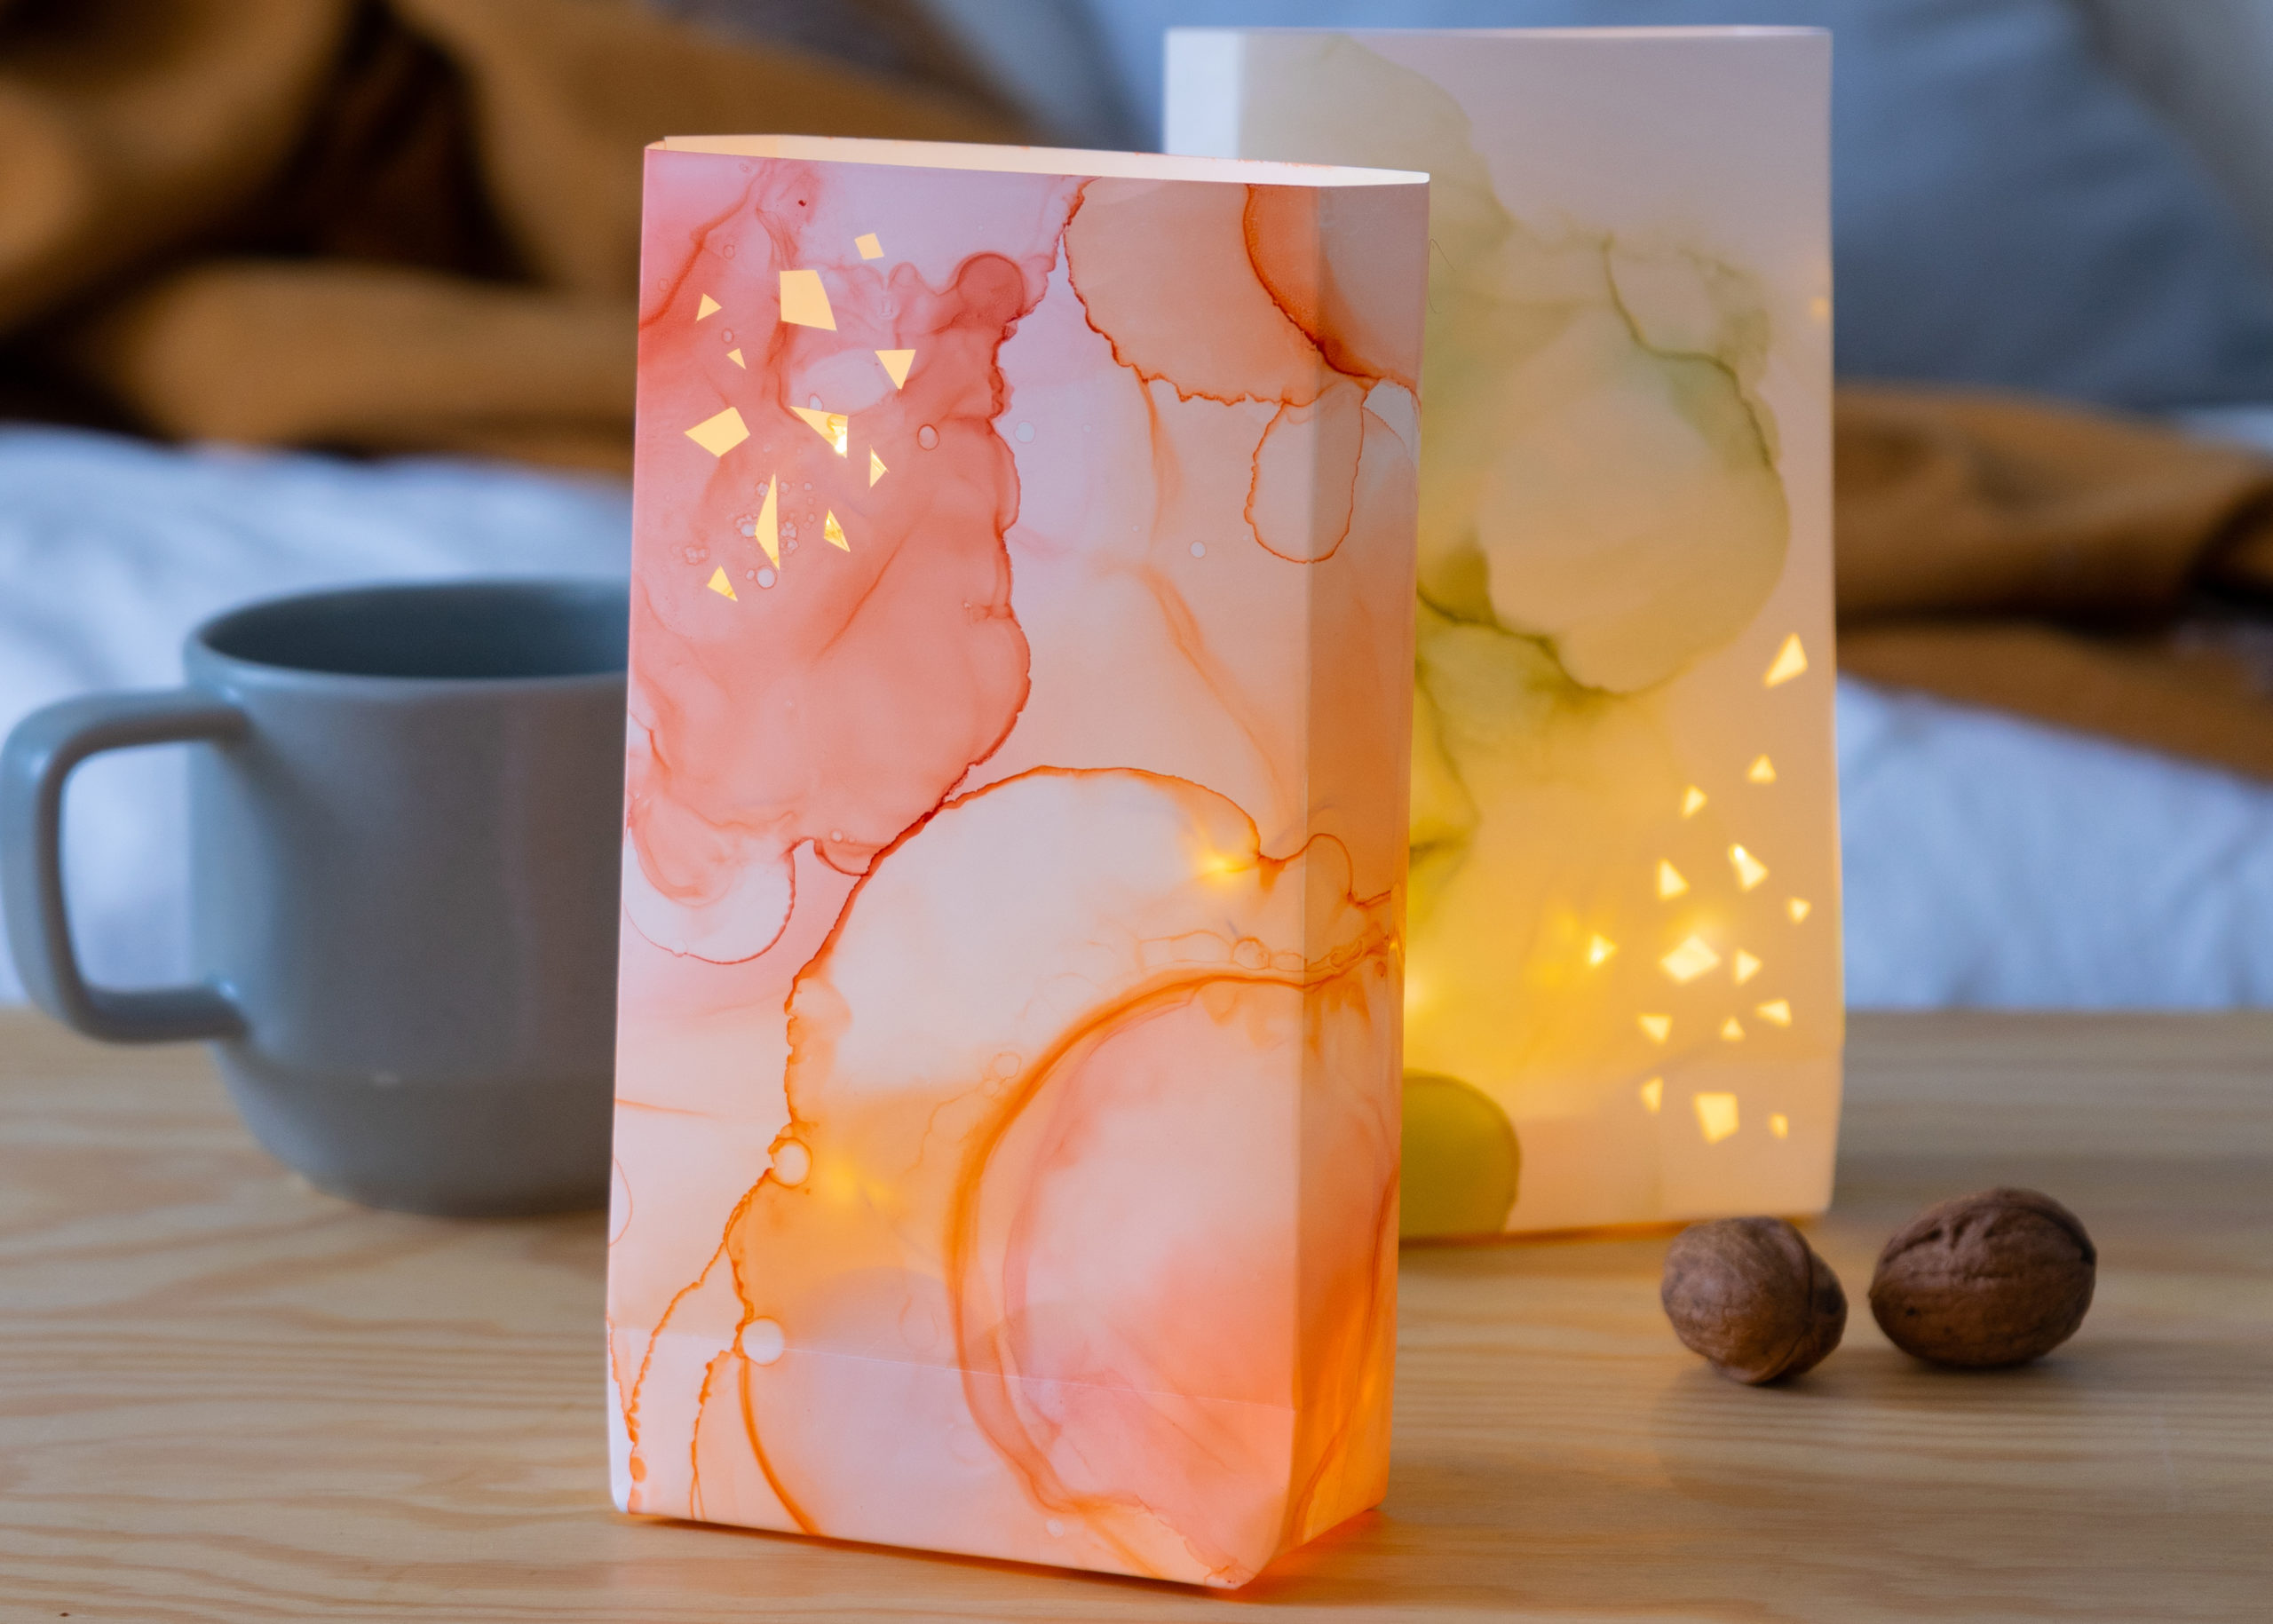
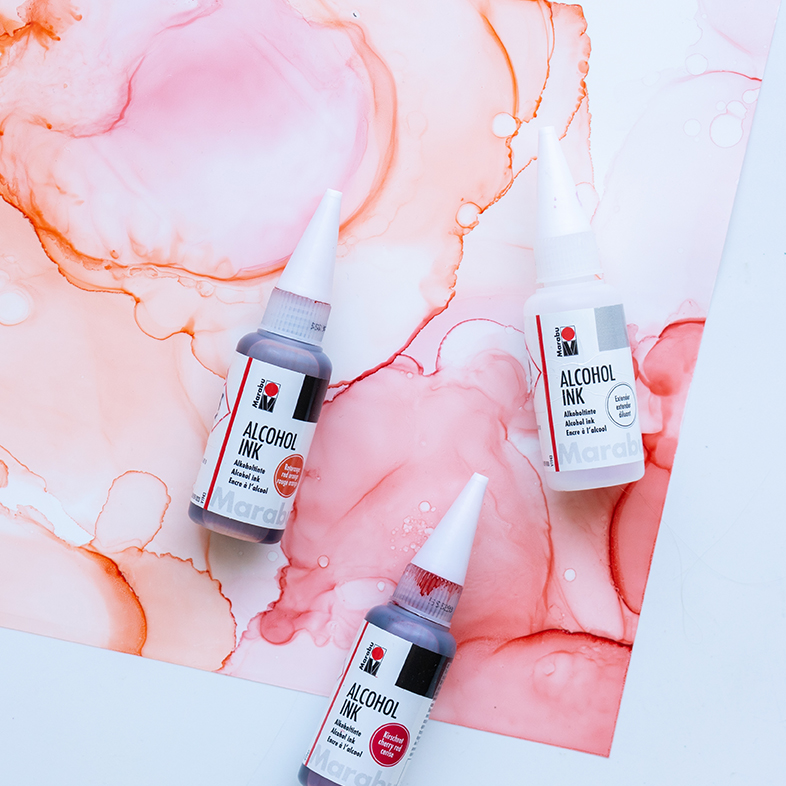
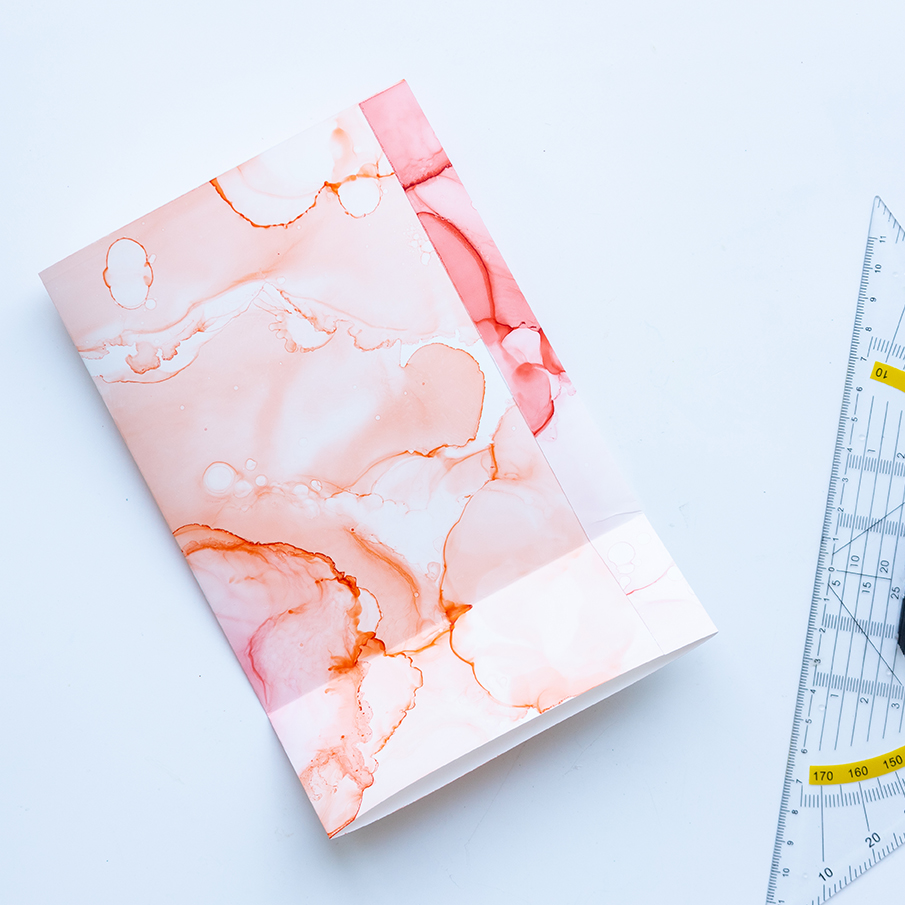
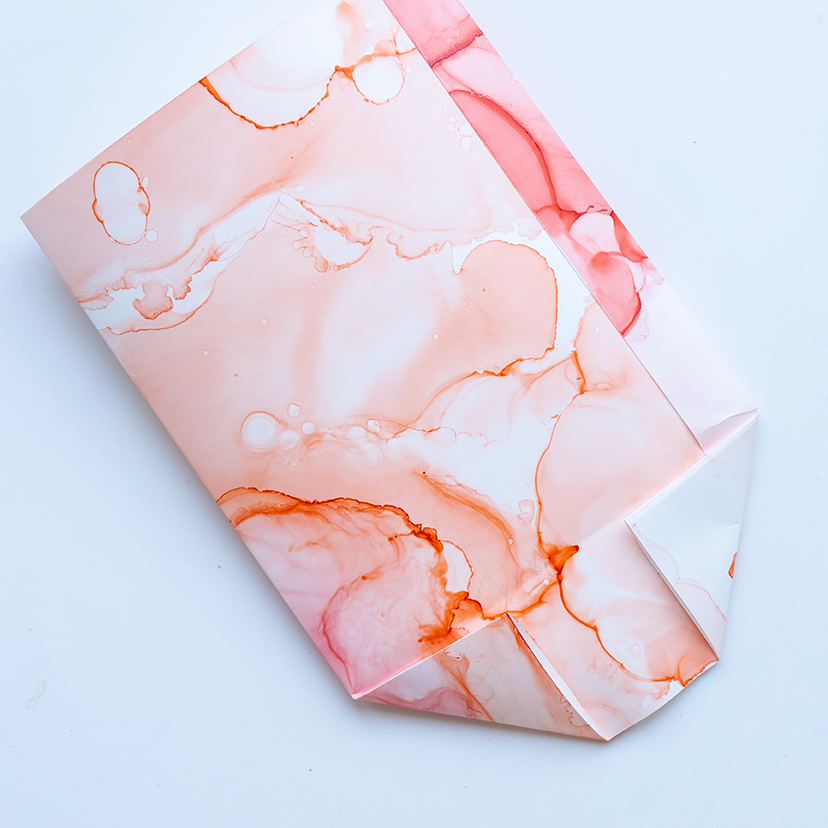
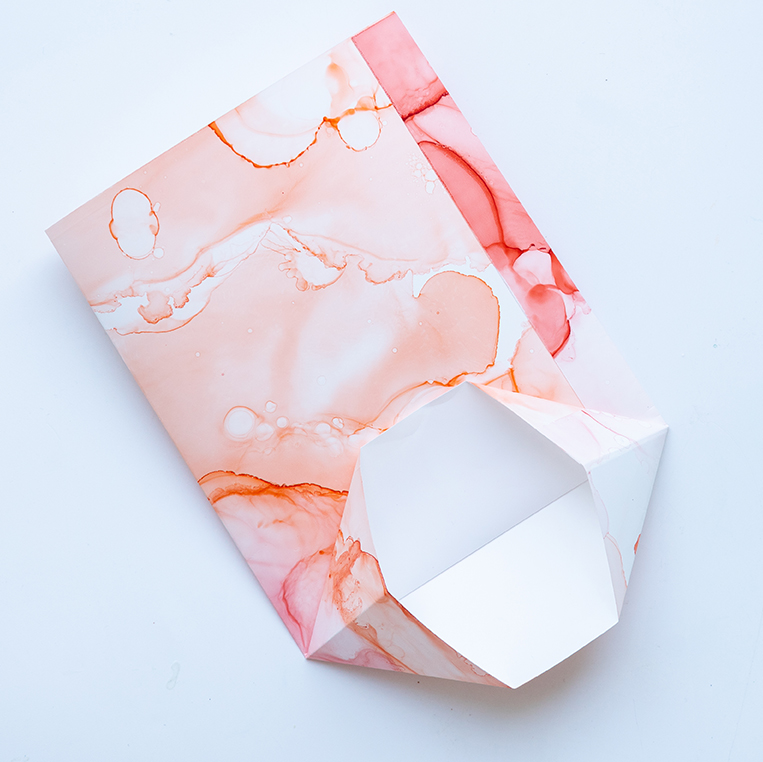
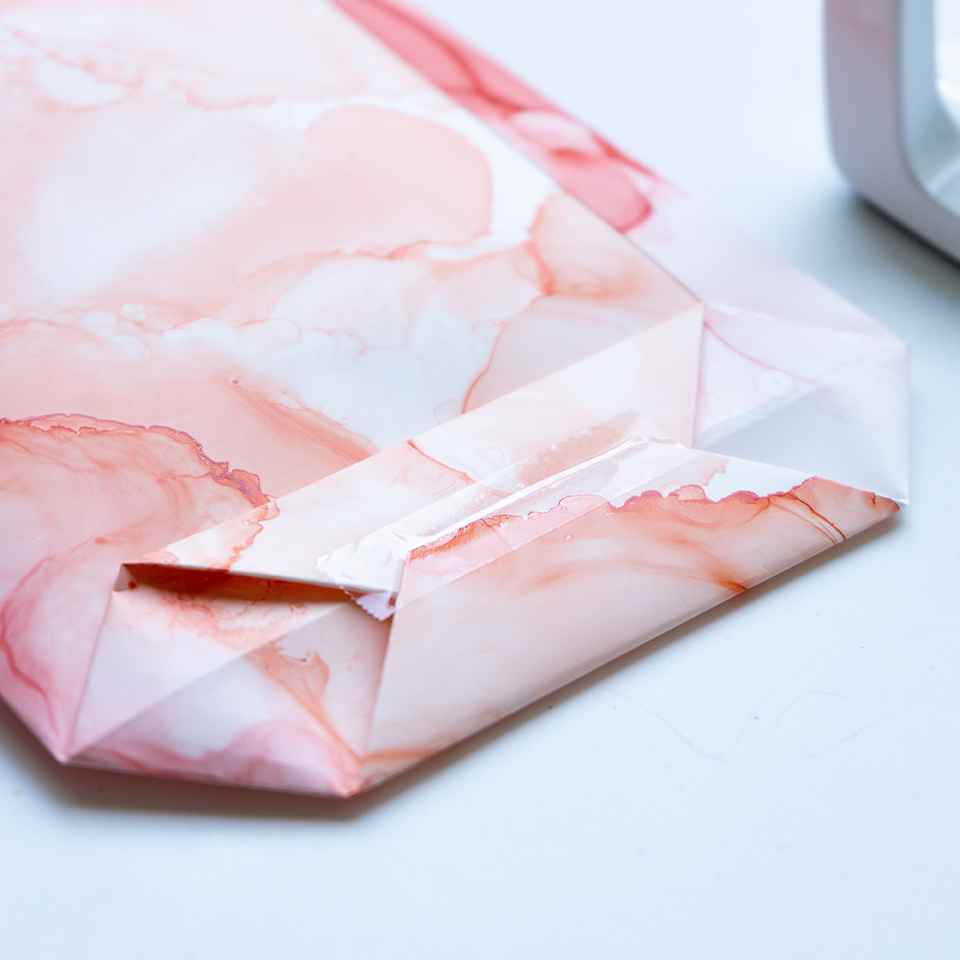
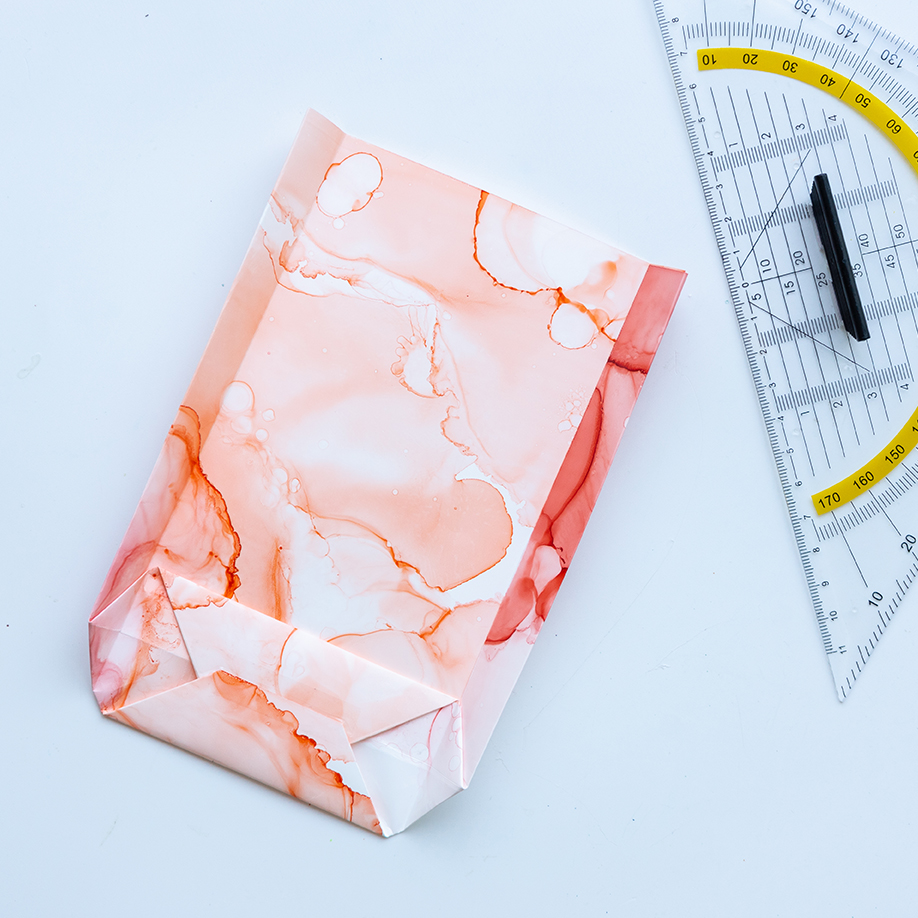
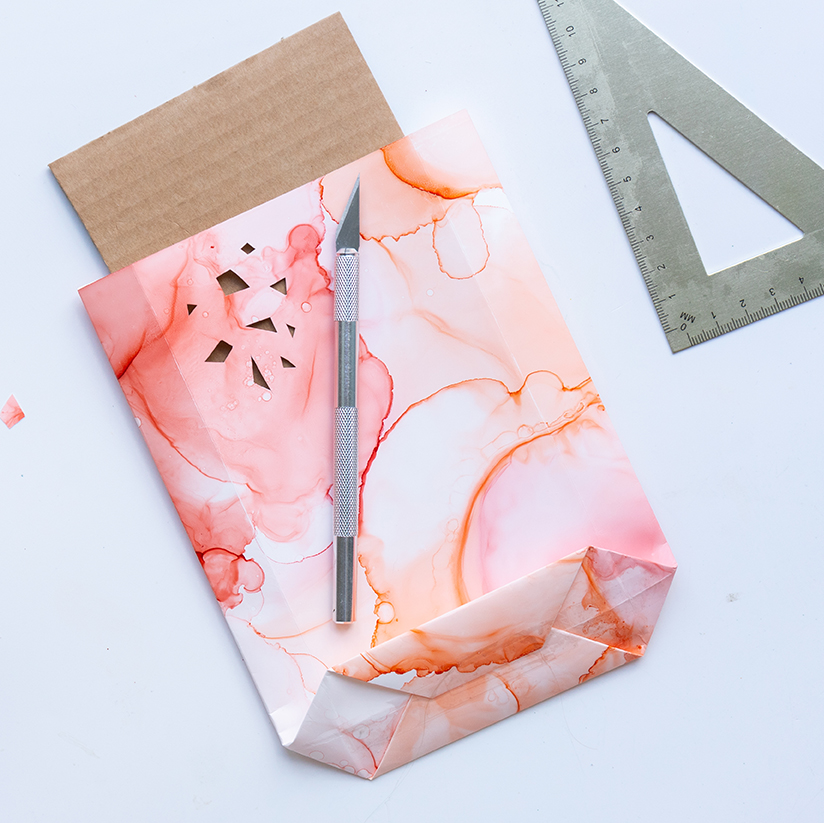
Autumnal light bags with Marabu Alcohol Ink

Autumn includes beautiful shades of red and orange as well as candlelight and cosy hours on the couch on wet, cold and dark autumn days. The light bags designed with alcohol ink conjure up a wonderful atmosphere and the cut-out geometric shapes also create fantastic plays of light with the flickering candlelight.

Share with friends

Security note

  • Shake metallic and diamond Alcohol Inks until the pigments are evenly dispersed. If the bottle has already been opened: place a gloved finger over the open bottle tip and shake well.
  • Marabu Alcohol Ink is suitable for non-absorbent surfaces (e. g. coated special paper, glass, metal, porcelain, etc.). Please note, that Alcohol Ink is not dishwasher safe and only suitable for art objects/decorative items. It is not food-safe or saliva-proof and must not be used on cut surfaces or drinking edges.
  • Keep away from open flames (e.g. candles), as Alcohol Ink is highly flammable.

How it is done:

  • Cover the work surface and your clothing. Put on disposable gloves. Put on a protective mask and open the windows. How to open the Alcohol Ink bottle: pull off the cap and insert a pin into the top of the bottle tip.
  • Squeeze droplets of Alcohol Ink in the desired colour onto the surface. Add Extender on top. The ink thins out and becomes more fluid. Small drops of the ink are already sufficient to transform them into semi-transparent colored areas with the help of the Extender. Allow different color shades to flow into each other by tilting the paper in different directions after the ink has dripped, thus allowing the ink to flow. Then let the color dry well before you continue.
  • Fold the paper so that there is a margin of about 2 cm on the right side. Then fold this edge and glue it firmly with glue.
  • Measure a 5 cm long section on one of the open sides and fold upwards.
  • Fold this section back and then the two corners of the triangle upwards.
  • Fold the triangles back again, reach into the lower opening, unfold and then fold them flat to the ground.
  • To close the bottom, the edges are folded towards the middle. One of the edges must be folded a little further to the center so that the edges are on top of each other and can be fixed with some adhesive tape.
  • In the next step, fold over 2 cm right and left to give the bag its three-dimensional shape. When the bag is opened later, these folds are pressed inwards.
  • Finally, slide a suitable piece of cardboard into the light bag. Then carefully cut out small geometric shapes with the cutter and a ruler. Then open the bag and place an LED candle inside.

© 2024 Marabu Gmbh