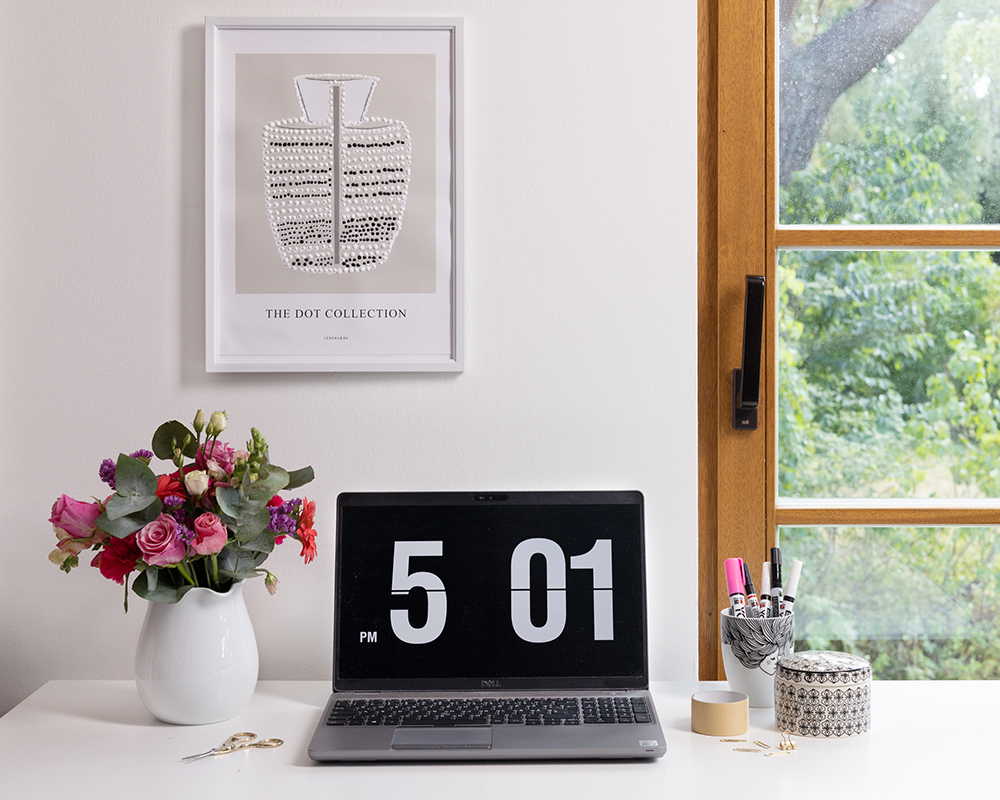
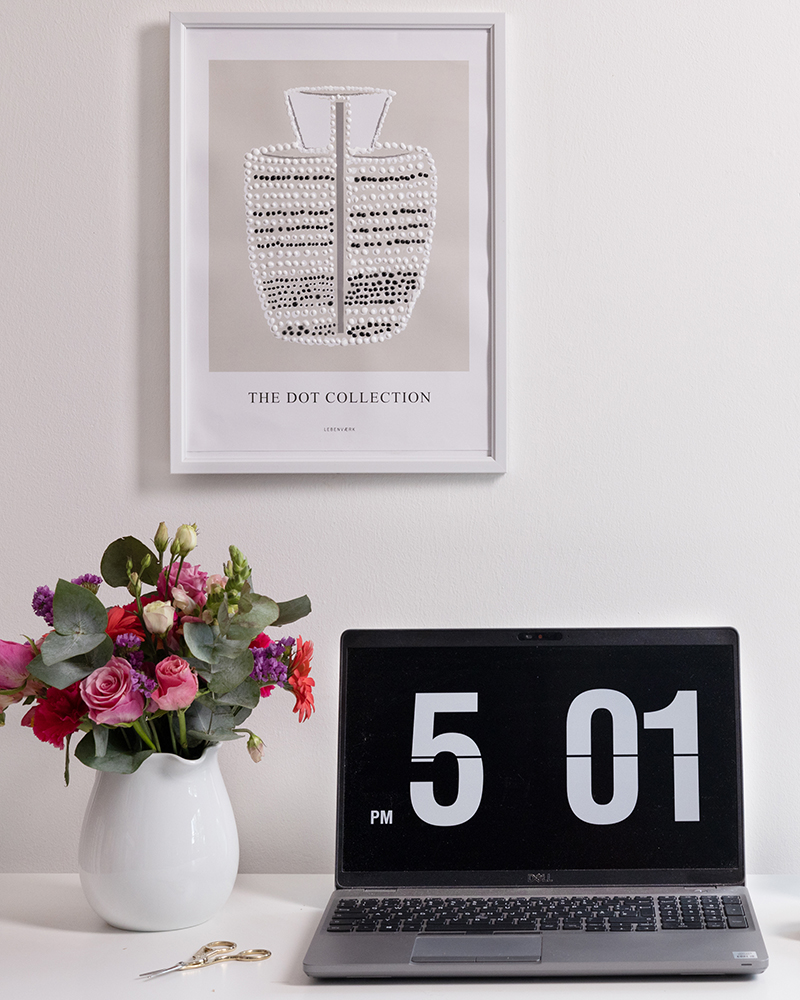
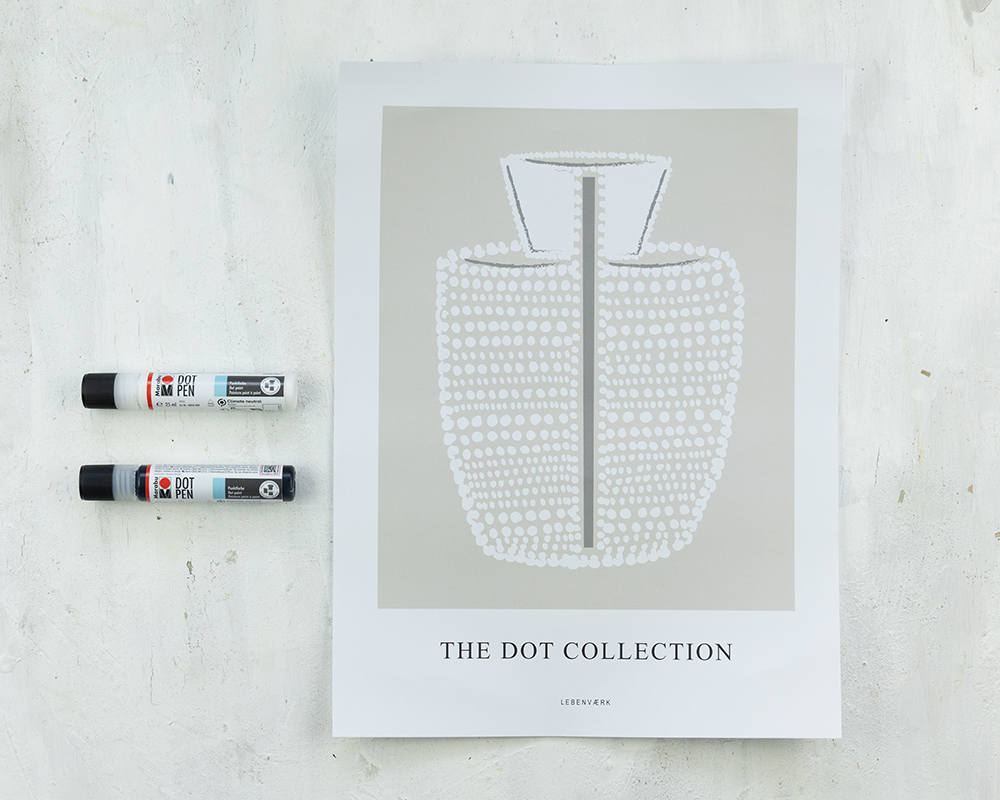
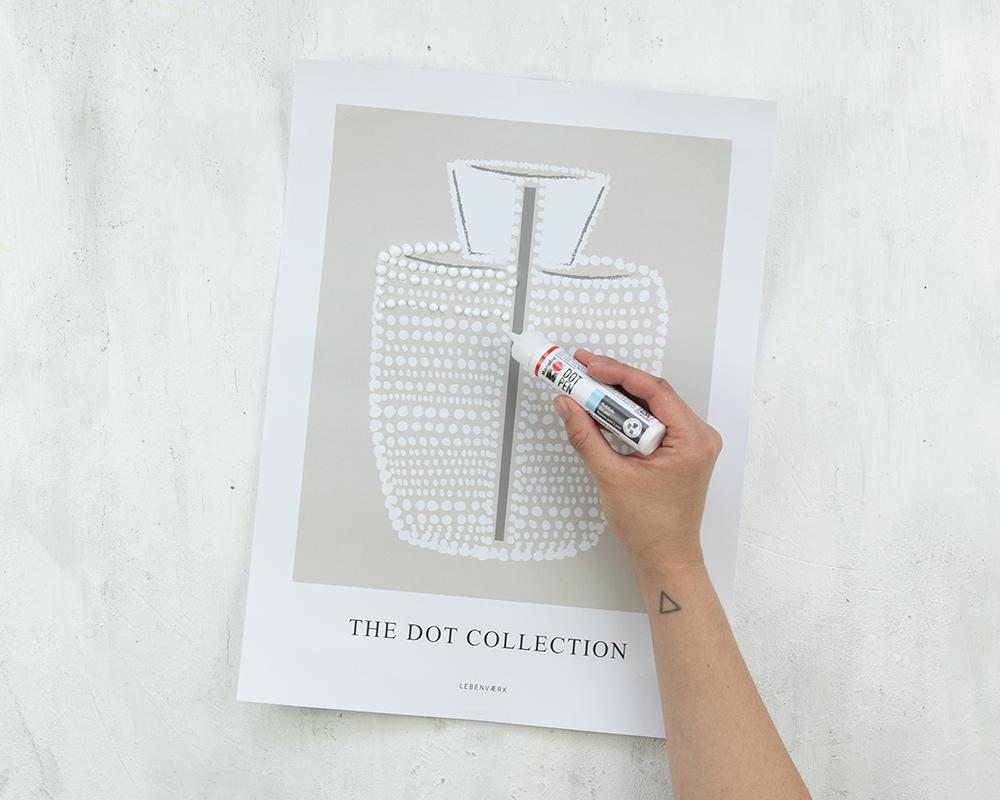
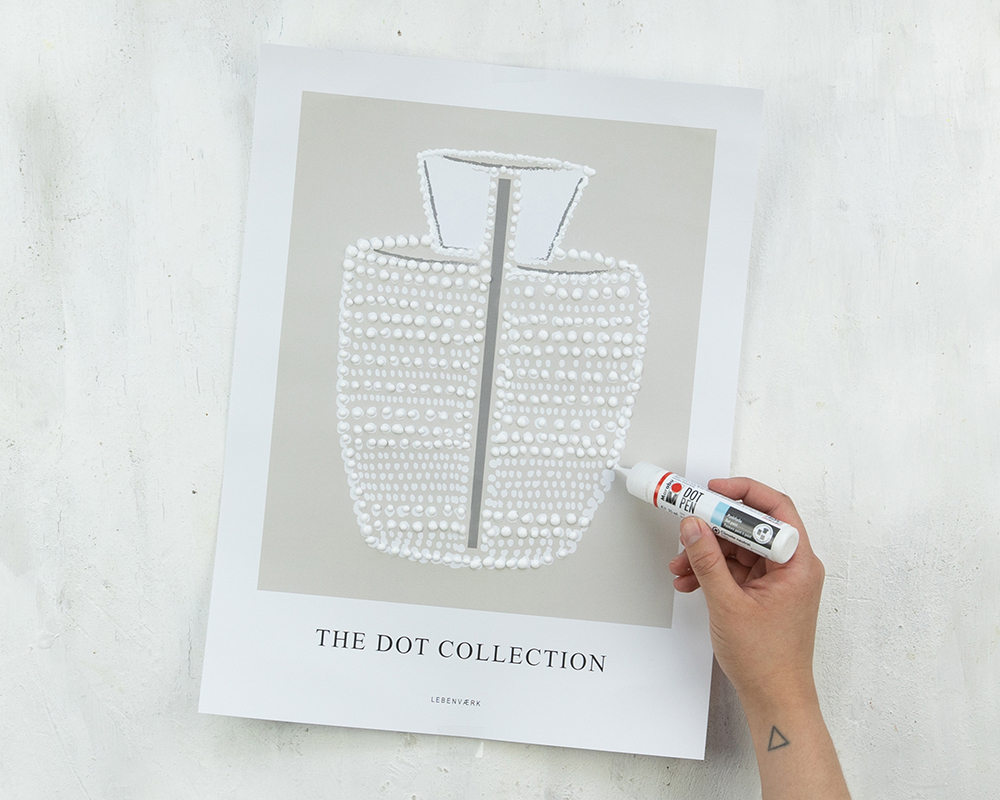
Home office poster with Marabu Dot Pen
Our study should become more beautiful! With a poster above the desk, it is much nicer to work in the home office. And the best: the printed dots on the poster form the template for the Marabu Dot Pen. So the flat motif immediately becomes a stylish 3D work of art.