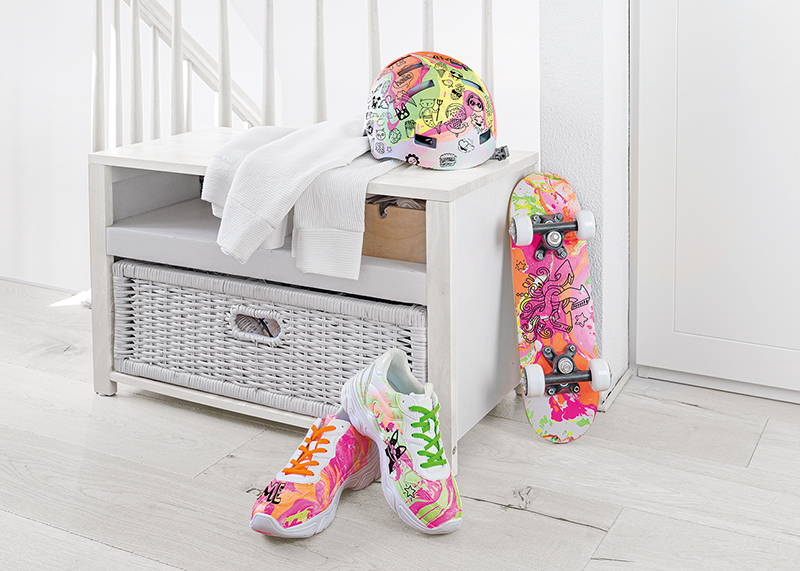
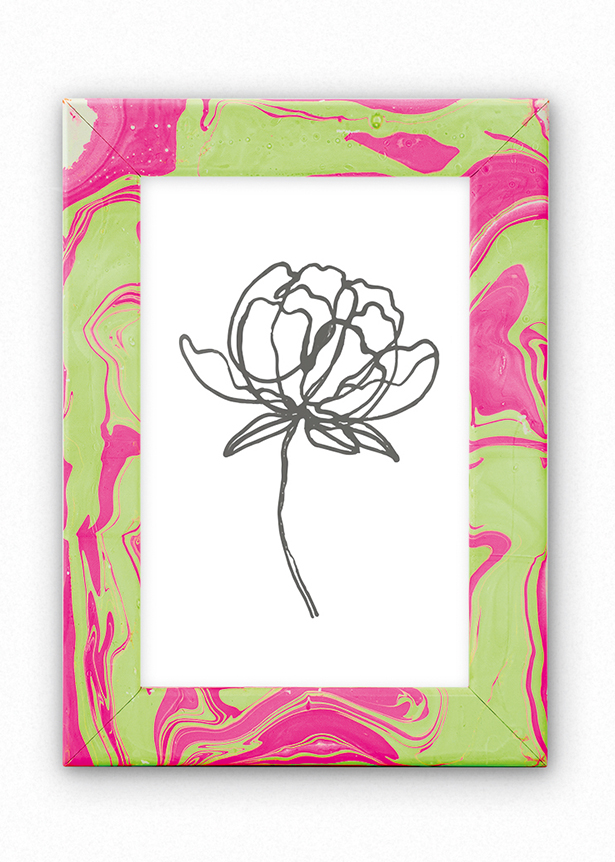
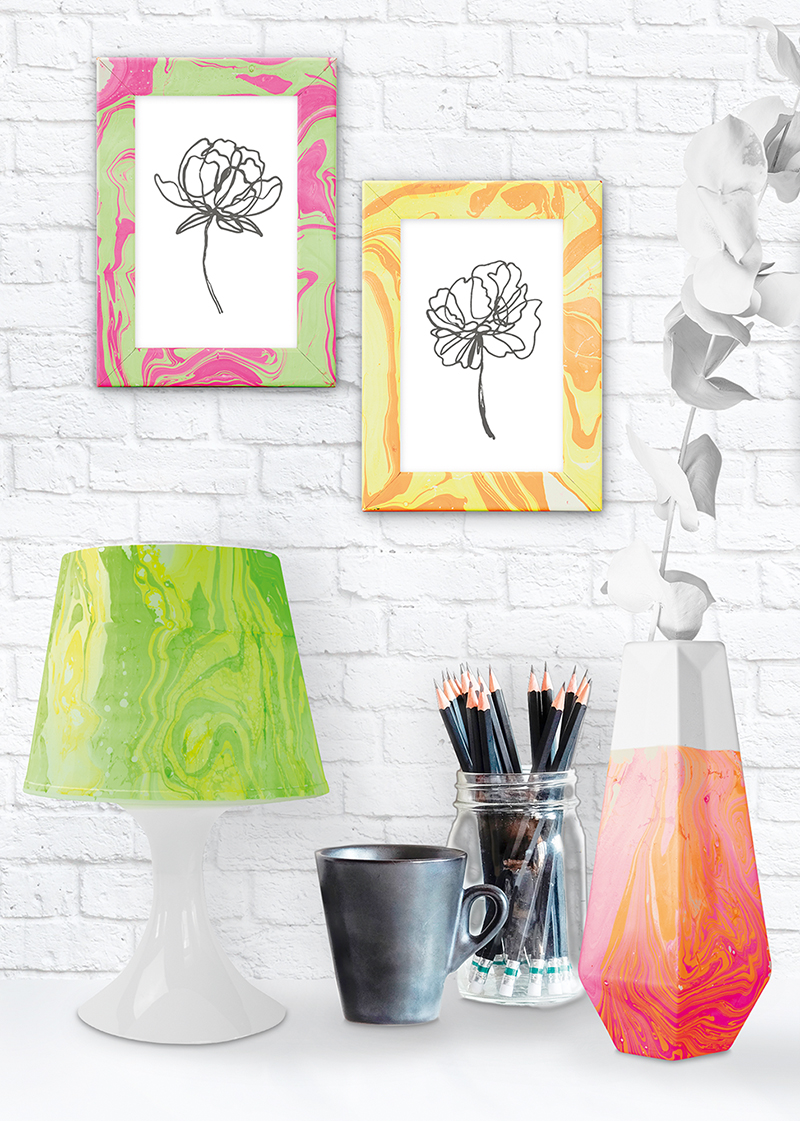
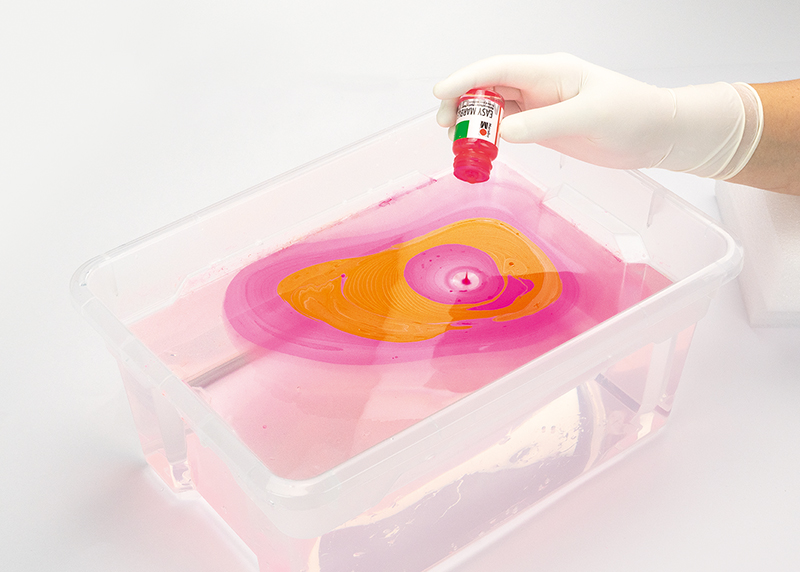
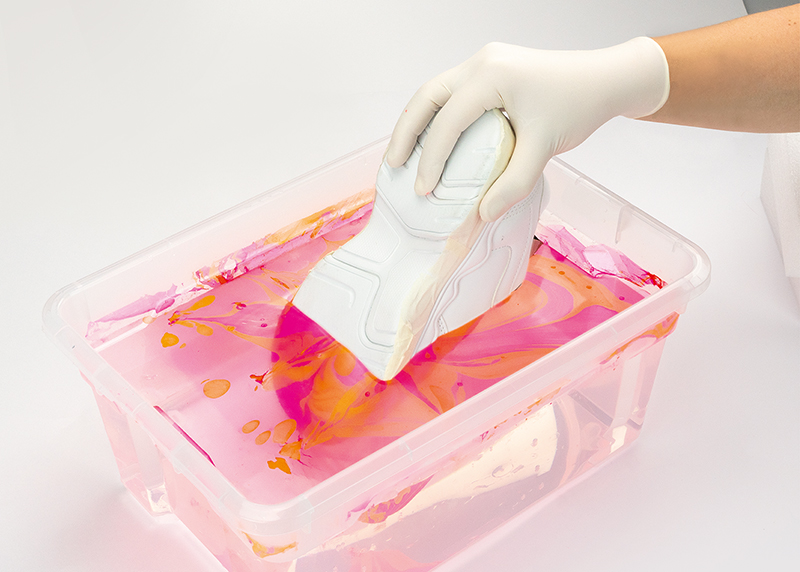
Marbling effects in neon with Marabu easy marble Neon

Marble effects conquer the design world – create your own designer pieces in the hip neon style: drip, dip, done! Fantastic contrasts can still be applied after drying with the black Permanent Marker. Awesome!

Share with friends
Marabu products you need...

…additionaly things you need

light dipping object
old container, deep enough to completely immerse the object to be marbled (the surface of the water in the container should be able to completely cover the dipping object)
disposable gloves
cocktail sticks
masking tape, to mask any areas that should not be marbled

IT’S EASY WHEN YOU KNOW HOW!

  • Standard and neon paints are only suitable for light backgrounds.
  • Pre-clean smooth surfaces such as metal or glass with alcohol.
  • The more paint you use, the more intensive the marble effect will be. The fresher the paint, the better the result.

How it is done:

  • Cover the work area well. Mask any areas of the dipping object that should not end up with a marbled pattern. White pigments in neon shades settle heavily to the bottom. You should therefore shake them well or remove the drip cap and briefly stir the paint. Keep open at the ready. Fill container with cold water.
  • Drip the paints onto the surface of the water directly from the drip jar, one after another. A paint film forms.
  • Instantly use a cocktail stick to create a marbled pattern in the paint film.
  • Slowly lower the dipping object through the pattern into the water. The paint film floating on the surface of the water will wrap itself around the object.
  • To prevent colours overlapping when pulling the object out, blow/wipe the remaining paint on the surface to the edges of the container. Next, remove the object quickly. Leave to dry. Done!
  • Use a piece of paper to remove any residual paint from the surface of the water before marbling the next object. Add new droplets of paint for each new dipping process.

© 2024 Marabu Gmbh