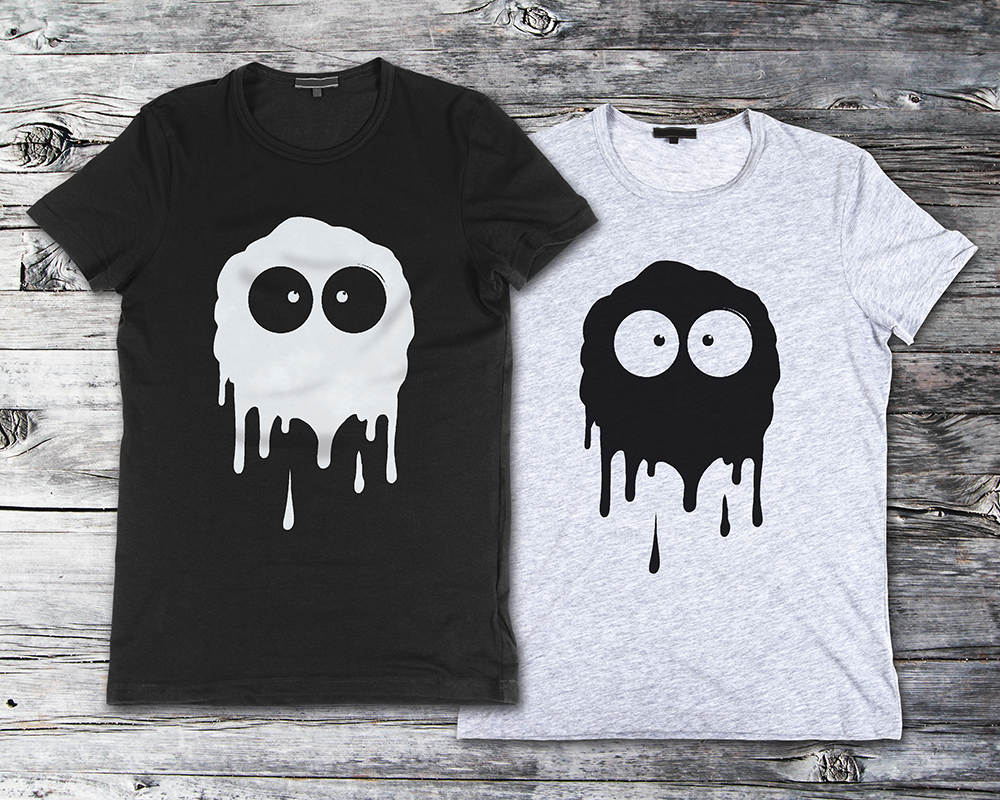
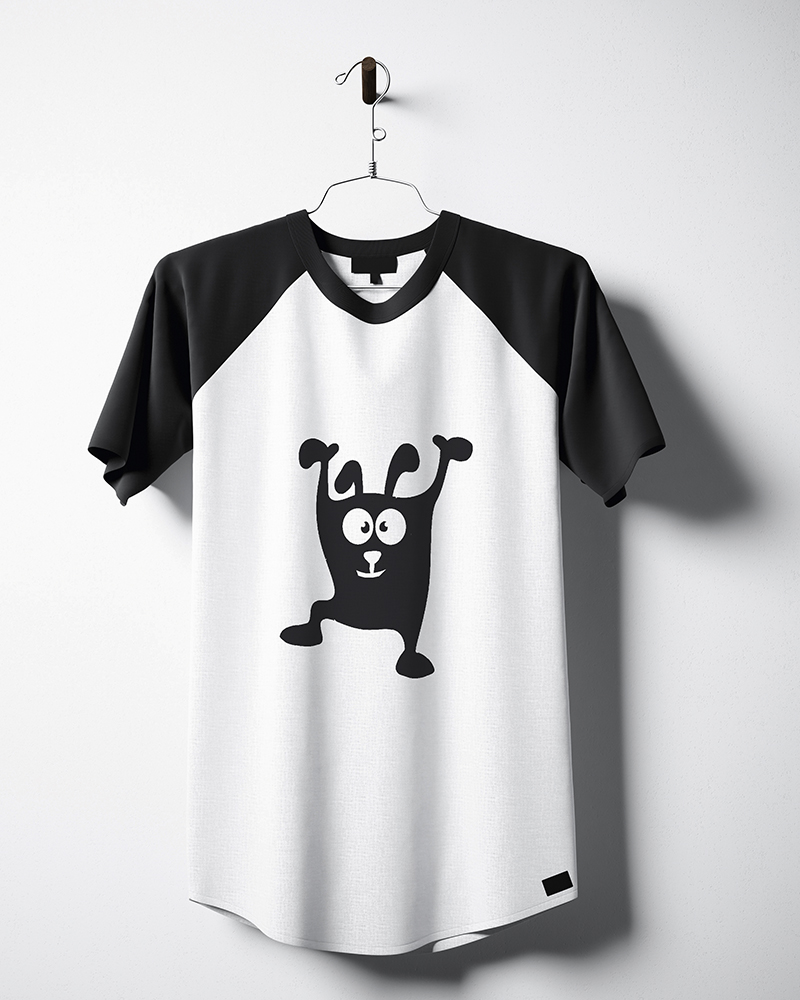
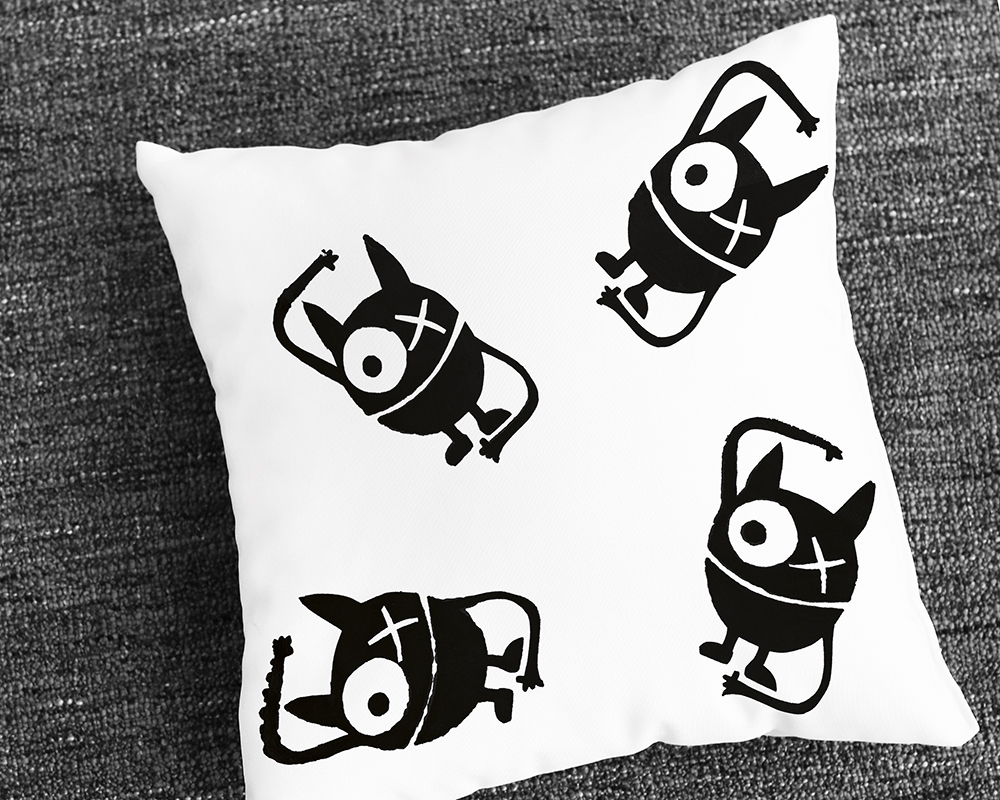
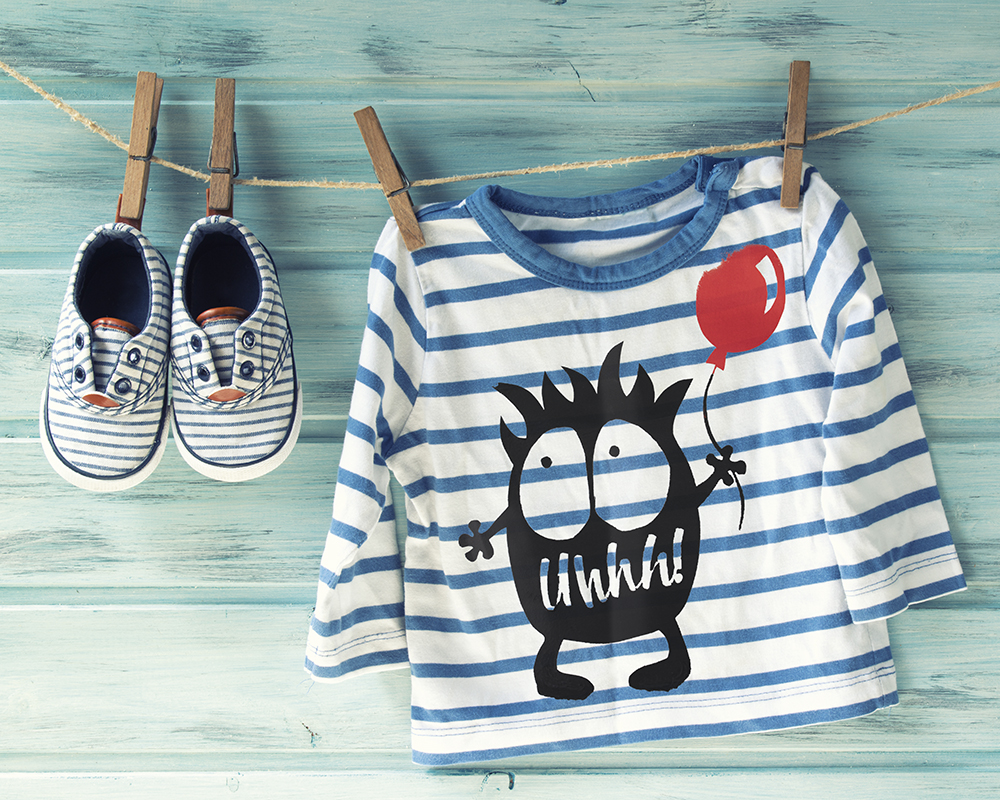
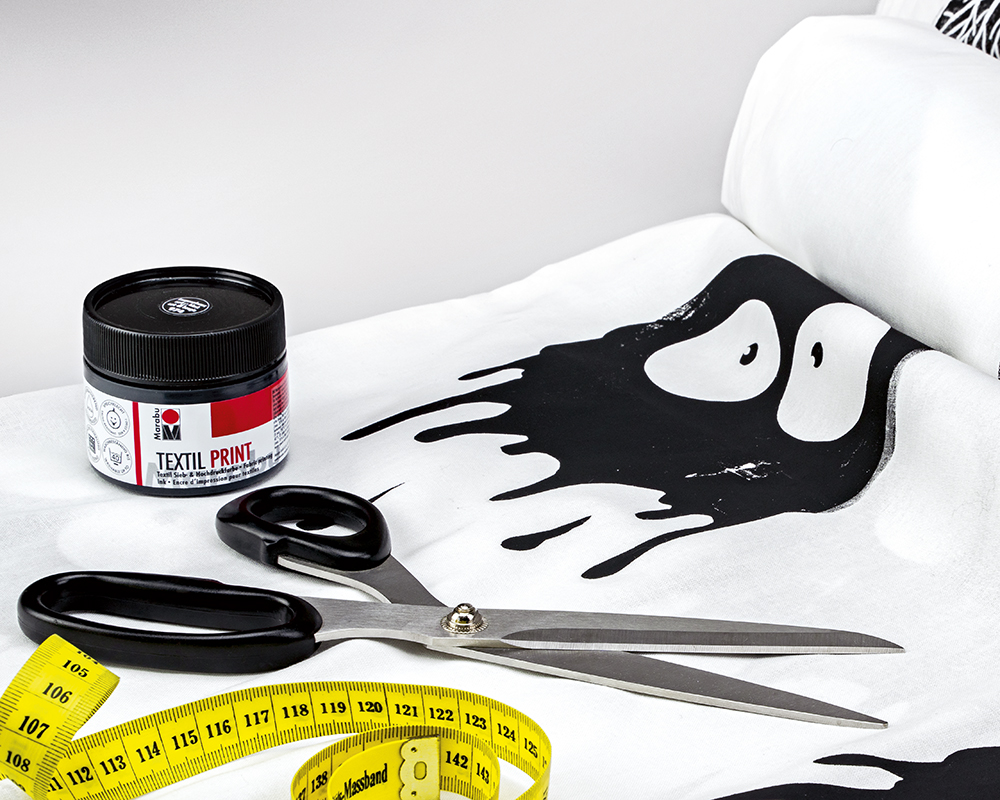
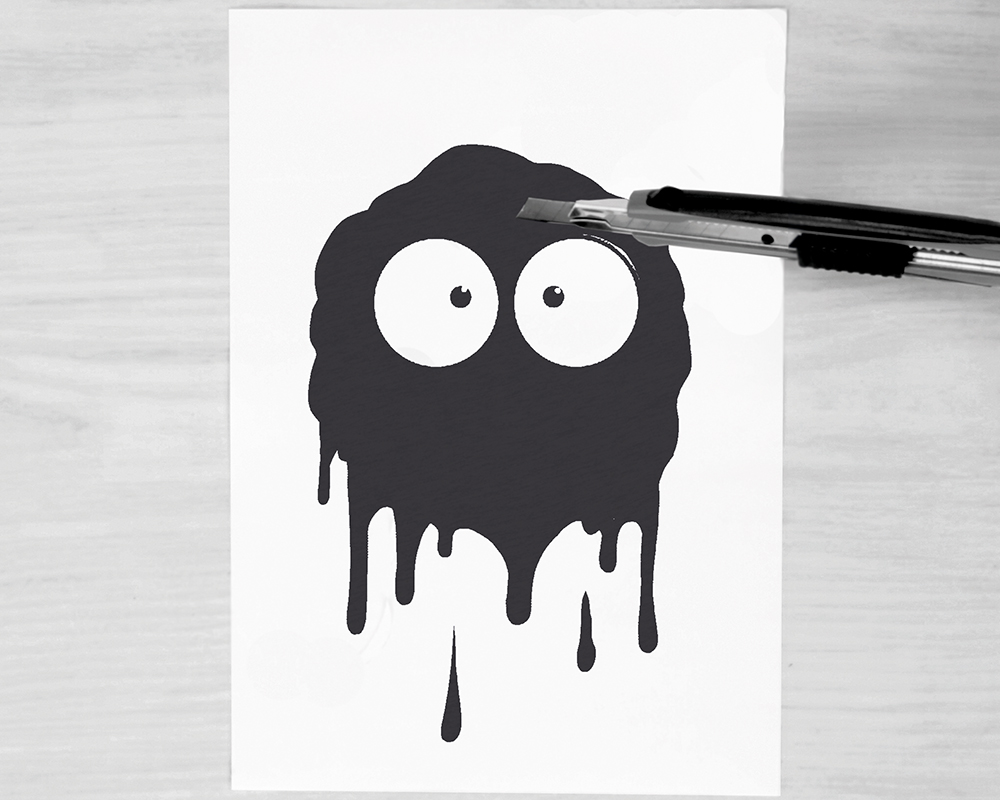
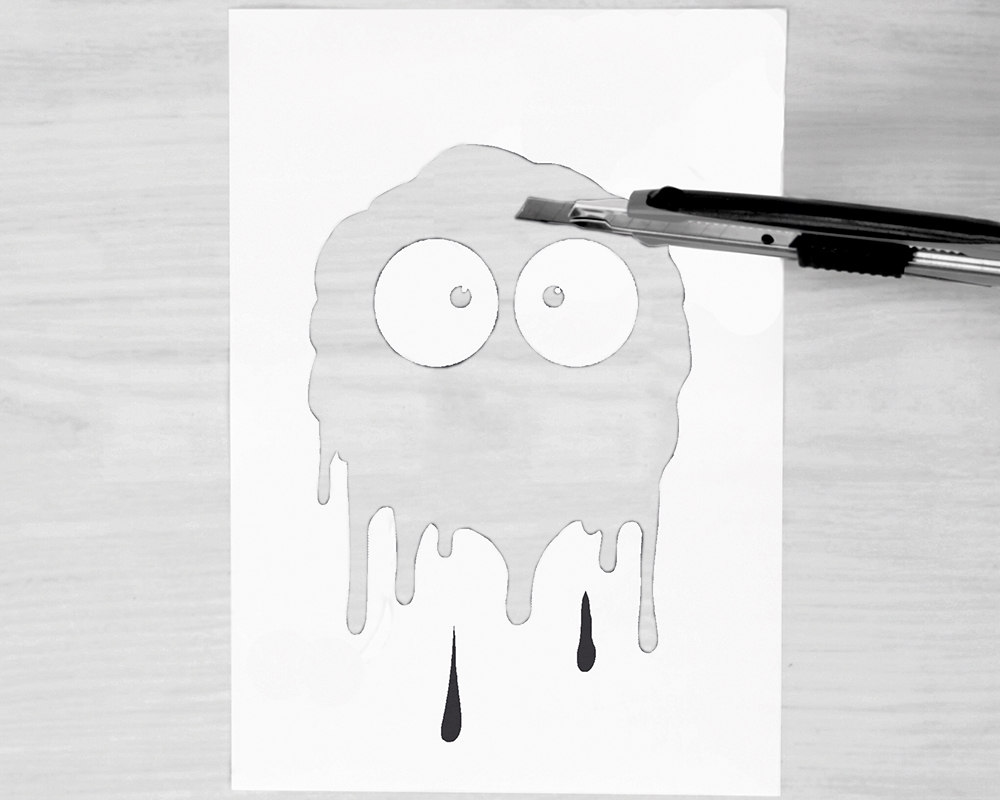
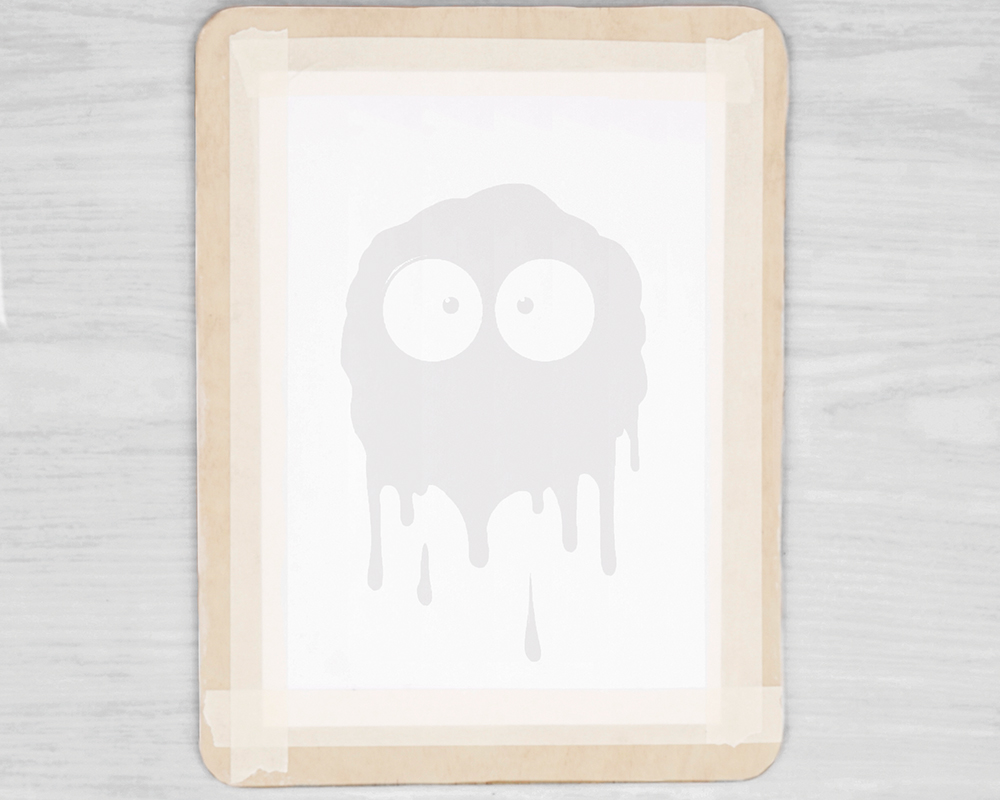
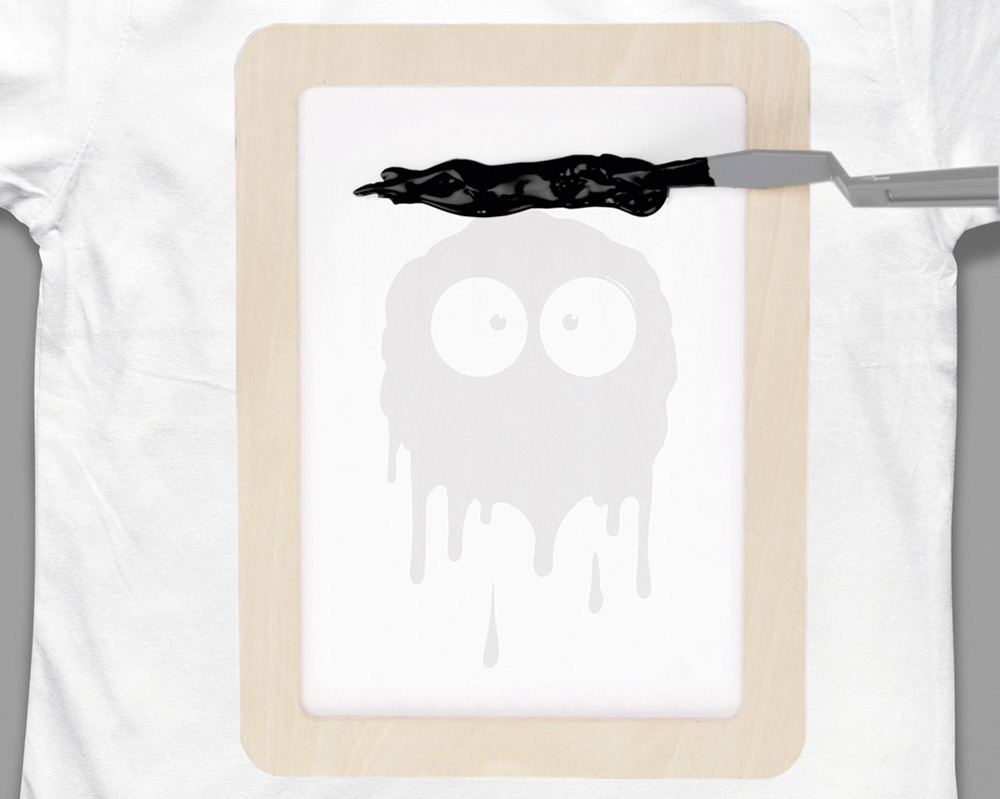
Monster print with Marabu Textil Print Screen Printing

There’s monster action here! Quick and easy, the little monsters swirl around on shirts, cushions and many other textiles with the help of fabric screen printing ink. So get to work on the monsters: cut out, print, done!

Share with friends
Marabu products you need...

…additionaly things you need

Textiles made of cotton (max. synthetic fibre content 20 %)
foil
paper
tape
cutter
Tips and Tricks

  • When printing fonts, letters and special motifs, please note that these must be glued mirror-inverted onto the flat side of the screen. If the screen is then placed with the flat side on the textile again, the fonts, letters etc. are legible again and are printed correctly.
  • For larger motifs, you can also use a Din A4 screen printing frame.

How it is done:

  • Before designing, wash the textiles without fabric softener to remove any finishes. Cover the work area and have all the materials ready. When painting double-sided textiles (T-shirt or cushion cover), always place a piece of cardboard between the textile layers so that the paint application cannot bleed through.
  • Transfer the motif onto the stencil material (paper) and then cut it out carefully with the cutter.
  • Everything that will later be printed with colour on the textile must be cut out. For our little monster, we have to keep the eyes and the little eyebrow on the right. We will place or glue these on the screen later so that no colour is printed here.
  • Stick the cut-out template onto the flat side of the screen with adhesive tape. Make sure that the stencil lies flat on the screen so that the impression will be perfect later. It is best to stick the eyebrow and the eyes directly onto the screen with double-sided adhesive tape.
  • Position the screen on the textile to be printed. The flat side of the screen rests on the textile, so the paper stencil lies directly on the fabric. Stir the screen printing ink well and then apply it in a line about 1 cm wide on the upper screen border.
  • Draw the ink with the squeegee (first without pressure) from top to bottom over the motif. This will flood the screen. Caution: make sure that there is ink on all areas to be printed. Then pull the squeegee over the motif from top to bottom with even pressure. This will transfer the ink to the textile.
  • Carefully remove the screen from the fabric. If the motif is to be reprinted elsewhere, quickly place it in the desired position and flood the screen with ink again. If you are quick, you can print a motif several times. After that, the stencil is usually softened and the print image is no longer printed perfectly.
  • When printing is complete, detach the stencil from the screen. Clean the screen and all working materials immediately with water and allow to dry. The screen mesh can also be cleaned from both sides with a mild detergent using a nail or toothbrush. It is optimal if the frame is then carefully dabbed dry with a lint-free cloth so that the wood does not warp due to the moisture.
  • After drying, fix the textile in the oven (8 min. / 150 °C) or iron for 3 min. without steam. After fixing, the textile is washable up to 40 °C.

Screen Printing for the Home: Marabu Textile Screen Printing Set

© 2024 Marabu Gmbh