Origami bunny with Marabu Alcohol Ink

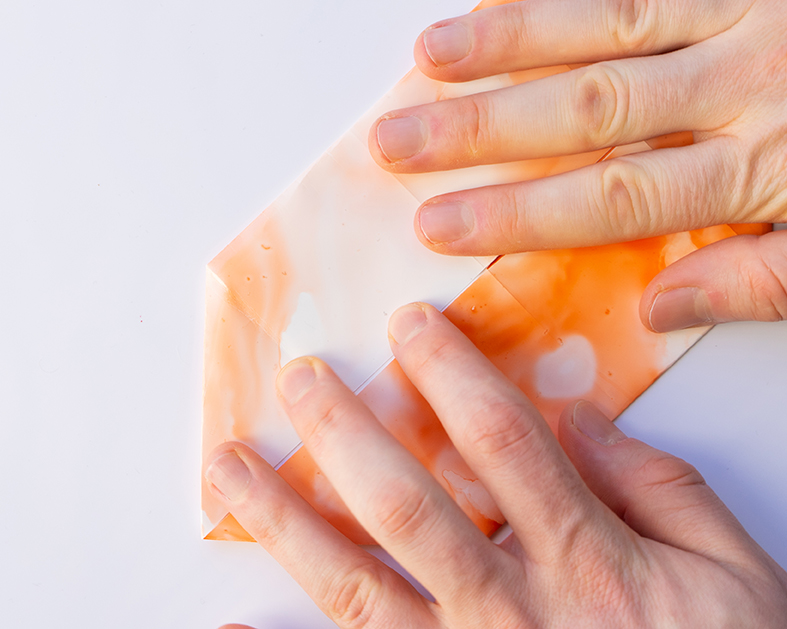
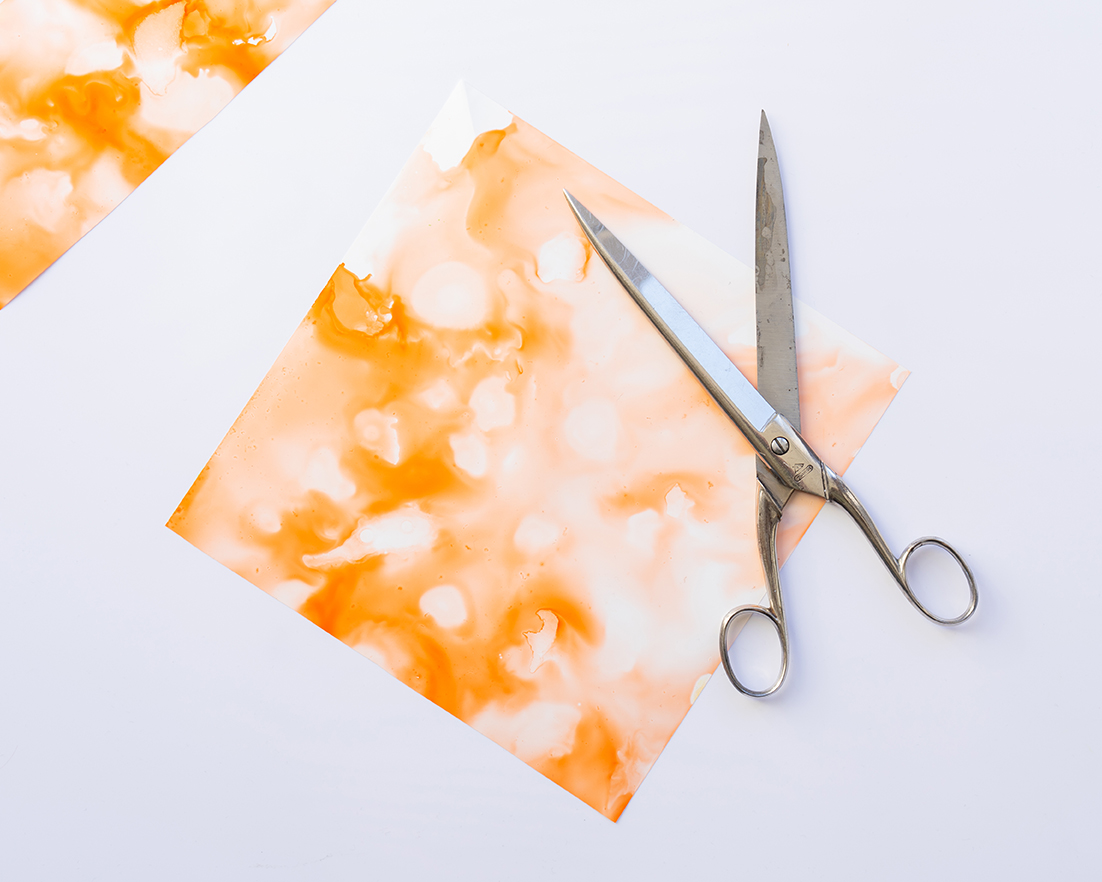
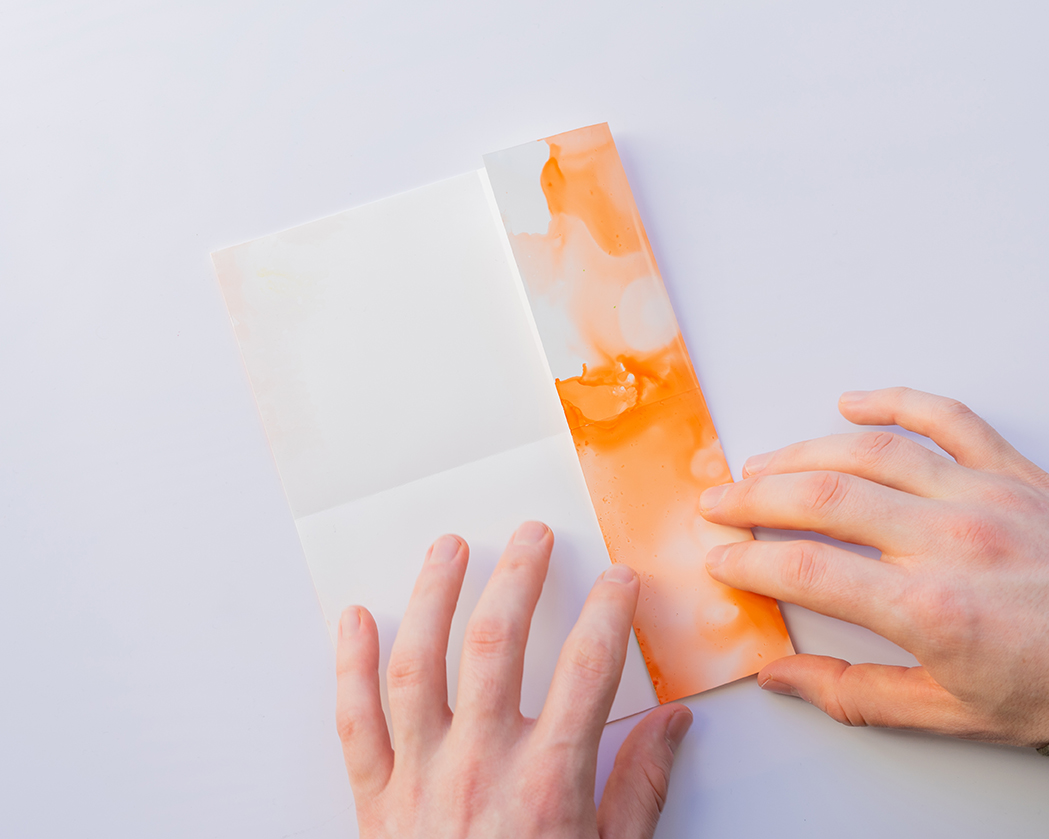
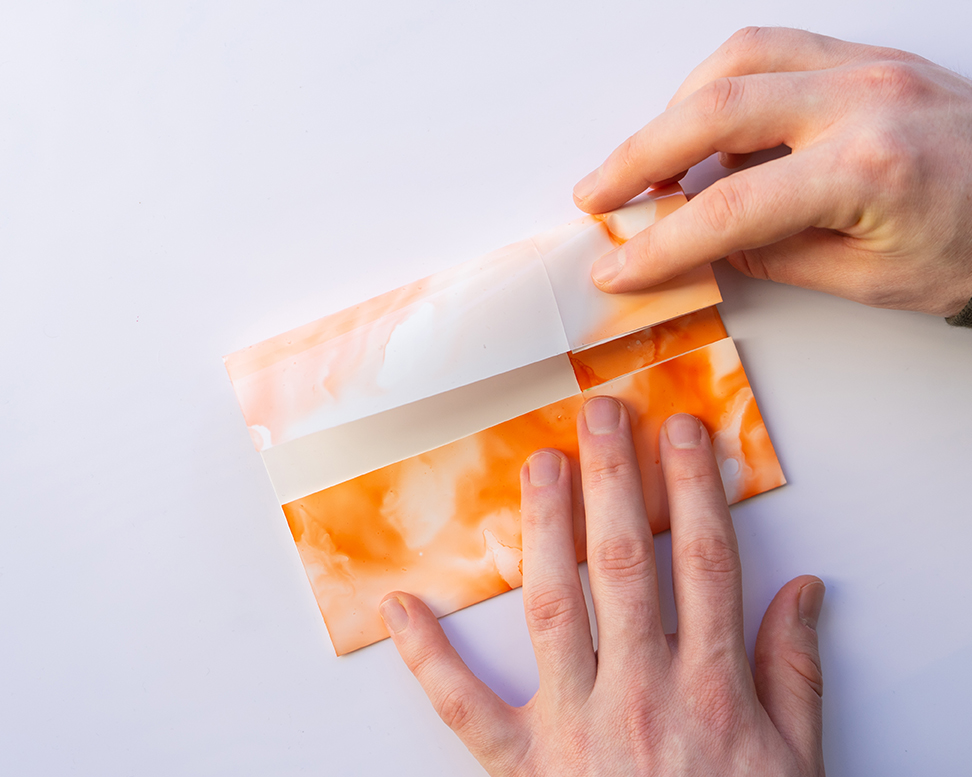
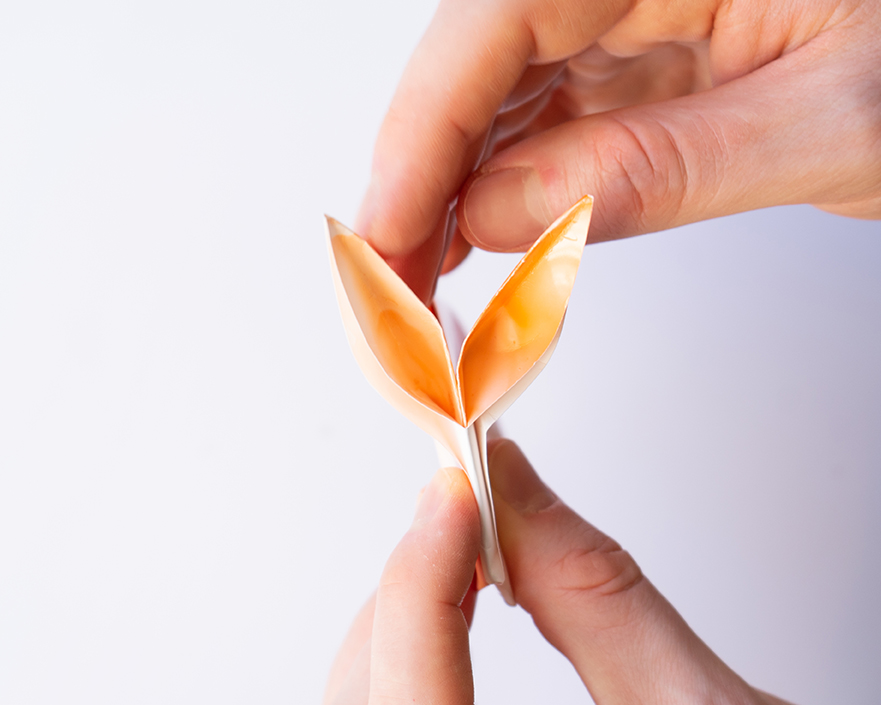
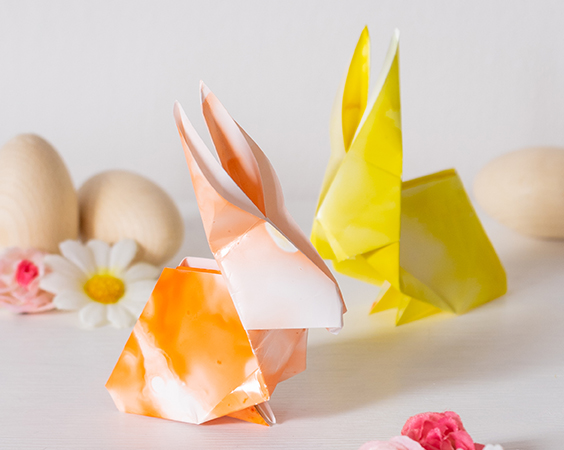
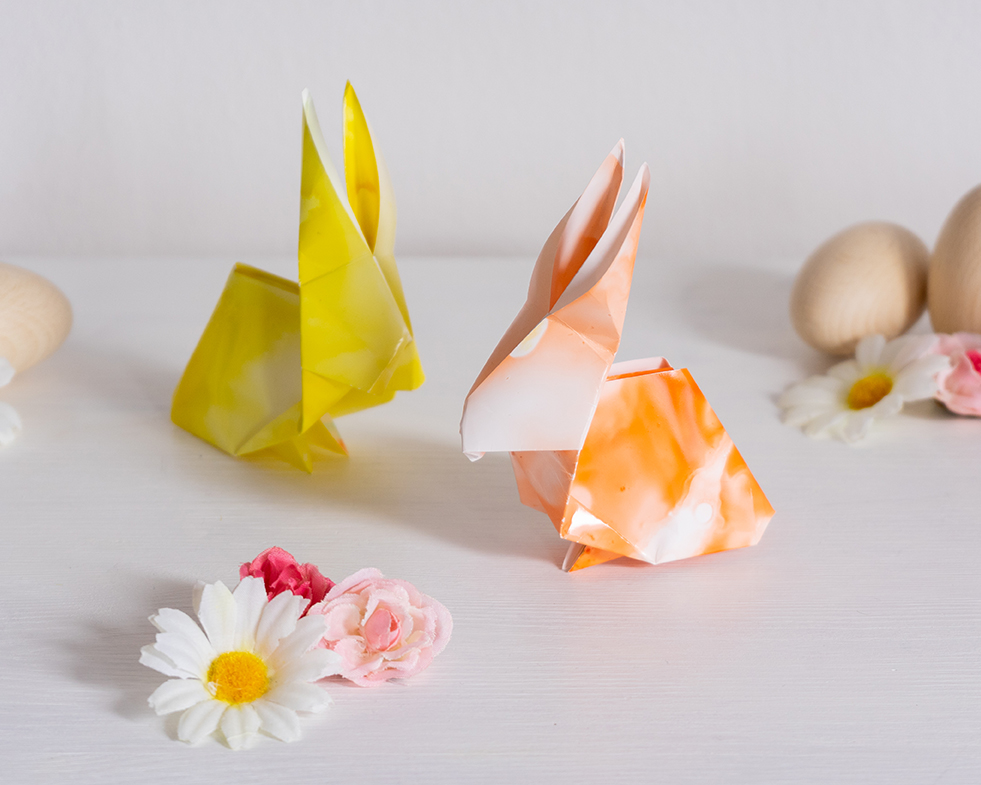
These cute origami bunnies are a great Easter decoration and not at all difficult to fold. You get the extraordinary pattern through the brilliant, colour-intensive shades of our Marabu Alcohol Ink.

Share with friends

NOTE

  • Marabu Alcohol Ink is suitable for non-absorbent surfaces such as coated special paper, glass, metal, porcelain and many more. However, please always note: Alcohol Ink is not dishwasher safe and is also only suitable for art objects/decorative items. It is not food-safe or saliva-proof and must not be used on cut surfaces or drinking rims.
  • Keep away from naked flames (e.g. candles) as Alcohol Ink is highly flammable.

How it is done:

  • First cover the work surface and clothing. We recommend wearing disposable gloves, a protective mask and opening a window.
  • Then open the Alcohol Ink bottles. To do this, pull the cap upwards and pierce the top of the bottle with a pin.
  • Now the Alcohol Ink paper can be designed as desired with Alcohol Ink. Drip the Alcohol Ink colour onto the synthetic paper. Then drip Alcohol Ink Extender over it. The ink will liquefy and become more flowable. Small drops of the ink are already enough to turn it into semi-transparent colour areas with the help of the extender. Allow everything to dry well.
  • Once the paper is dry, cut it into squares.
  • To prepare the paper, first fold it once in the middle both horizontally and vertically and open it again.
  • Now the first step is to fold the right side towards the centre.
  • Then fold both the upper and lower sides horizontally towards the centre.
  • Now fold the upper left corner and the lower corner towards the centre.
  • Next, fold over each inside pointed corner as shown in the picture and fold towards the centre.
  • Then, on the inside of the right side, grasp the two tips and fold them over to the right so that they form a point on the outside right.
  • The next step is to fold the lace on the left side over to the underside.
  • Now fold the upper and lower left corners towards the centre.
  • The resulting lace is now folded to the right as shown in the pictures.
  • Then fold the paper outwards once in the middle.
  • The left area is to make the rabbit's head, here the tip is now folded inwards a little, as this is to represent the rabbit's snout.
  • In the next step, the head is folded over to the right towards the centre as shown in the picture.
  • Then fold the two pointed ends inwards on the right side so that they are visible on the left as small pointed paws.
  • Finally, fold the rabbit's ears into shape. Then you are ready to decorate!

Marabu Alcohol Ink "Wispy Layers": Tutorial with Chrischography

© 2024 Marabu Gmbh