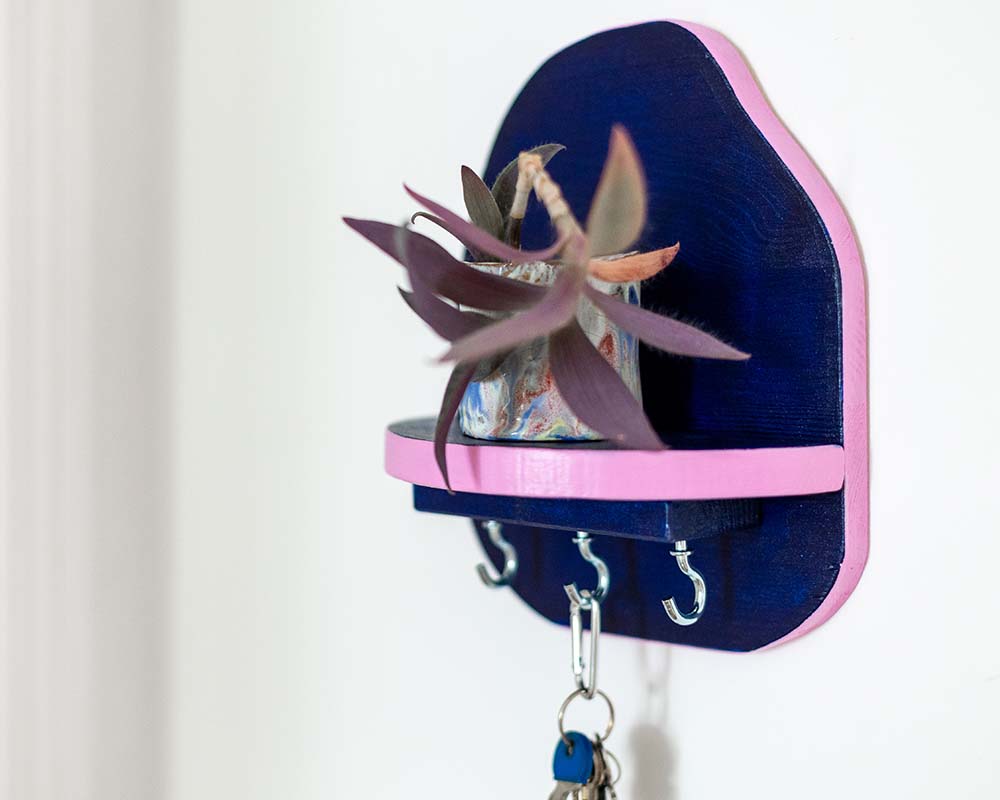
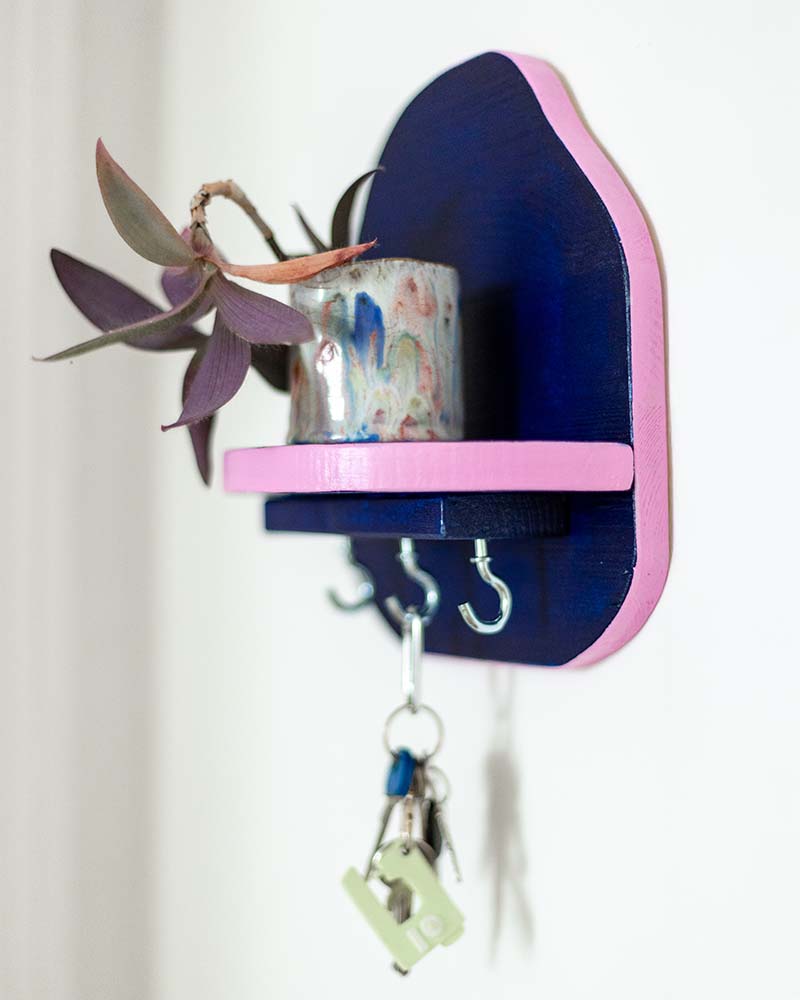
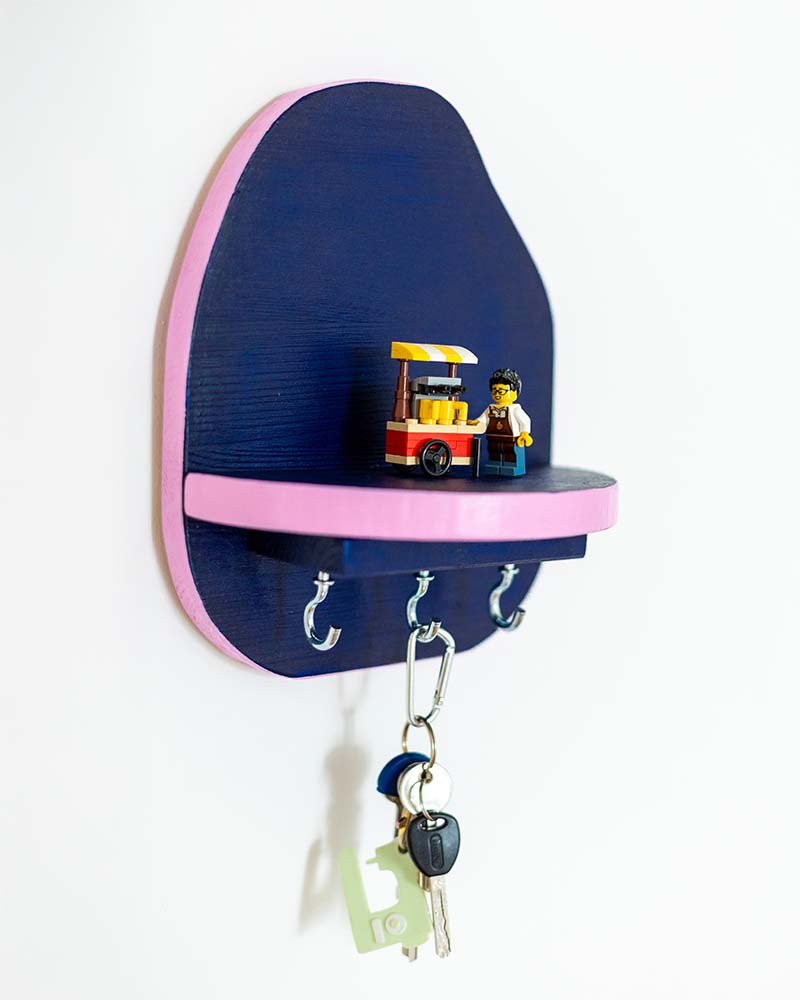
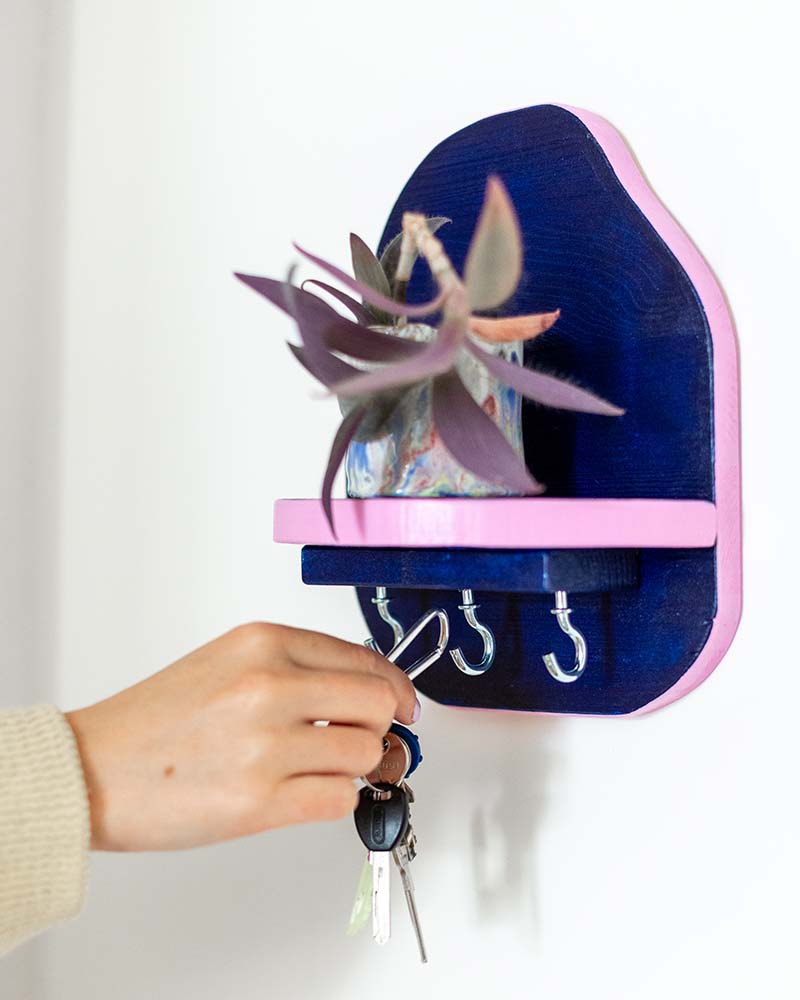
Key rack made with Marabu DO IT Craft Paint

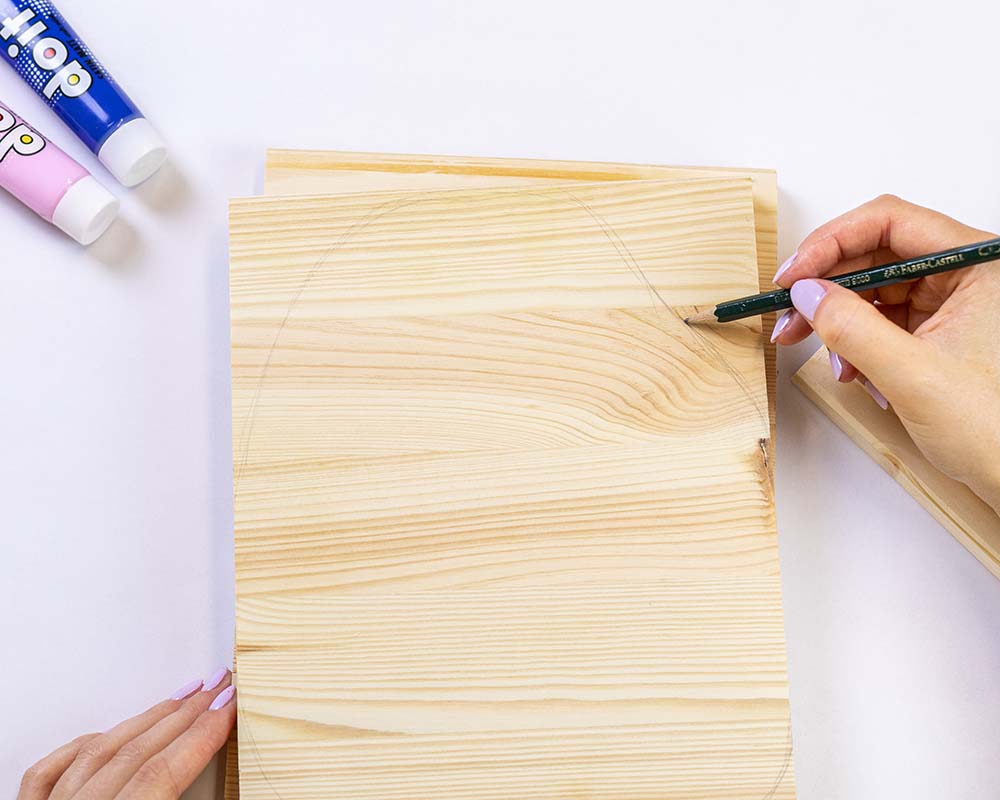
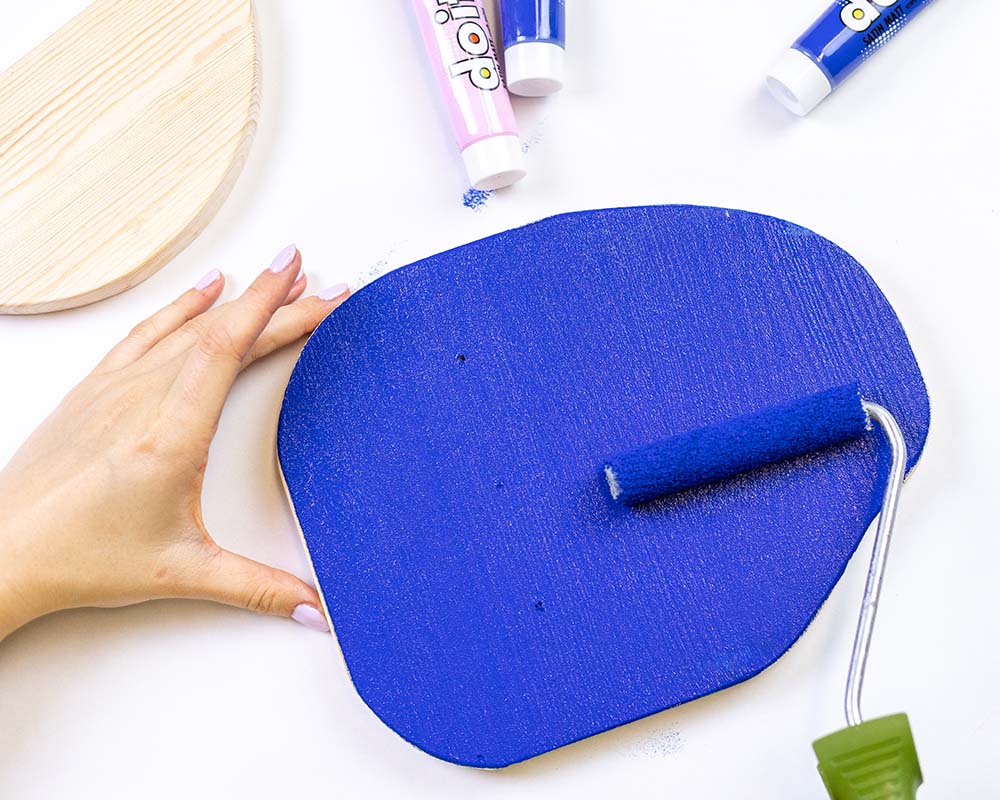
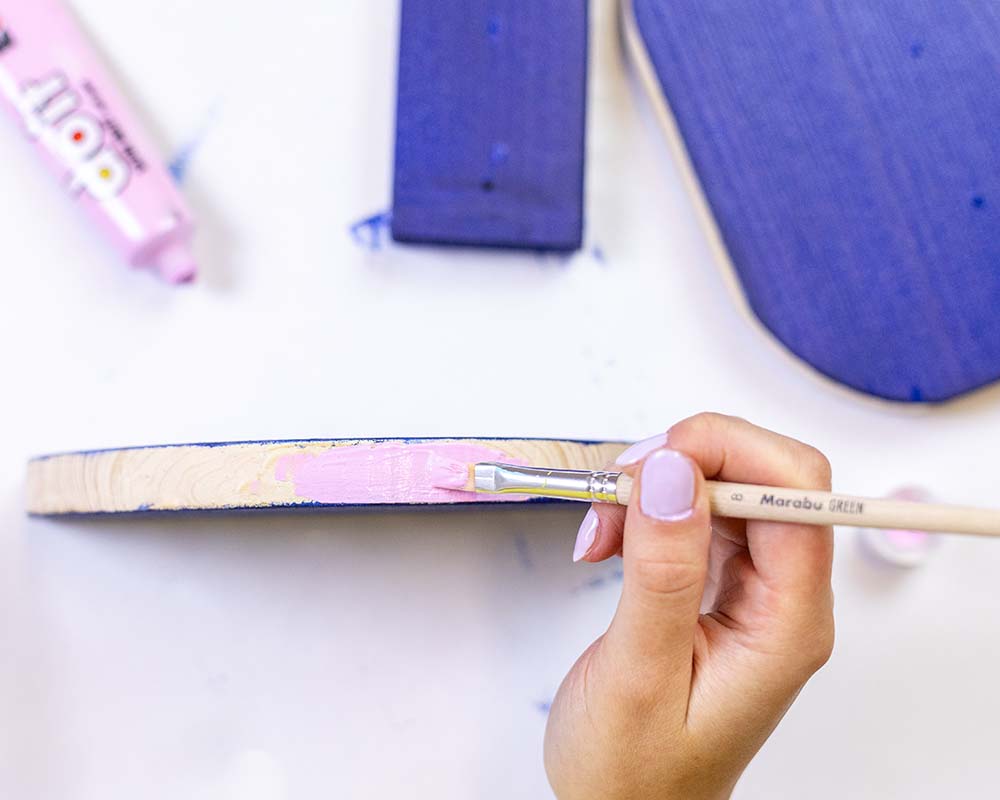
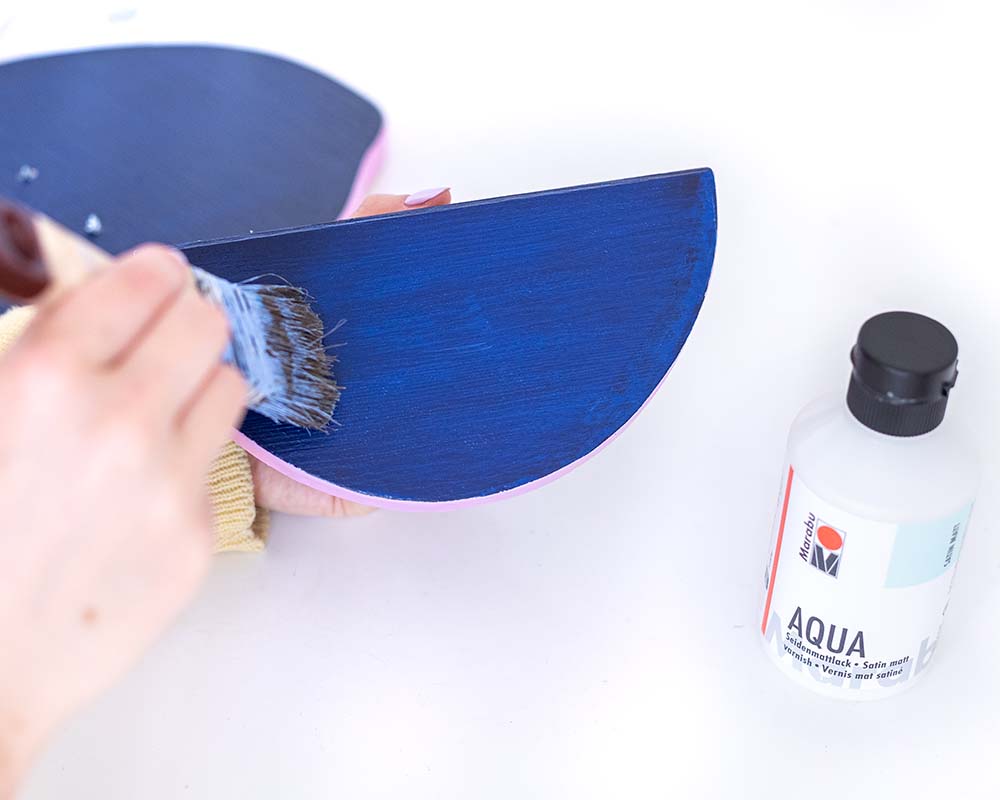
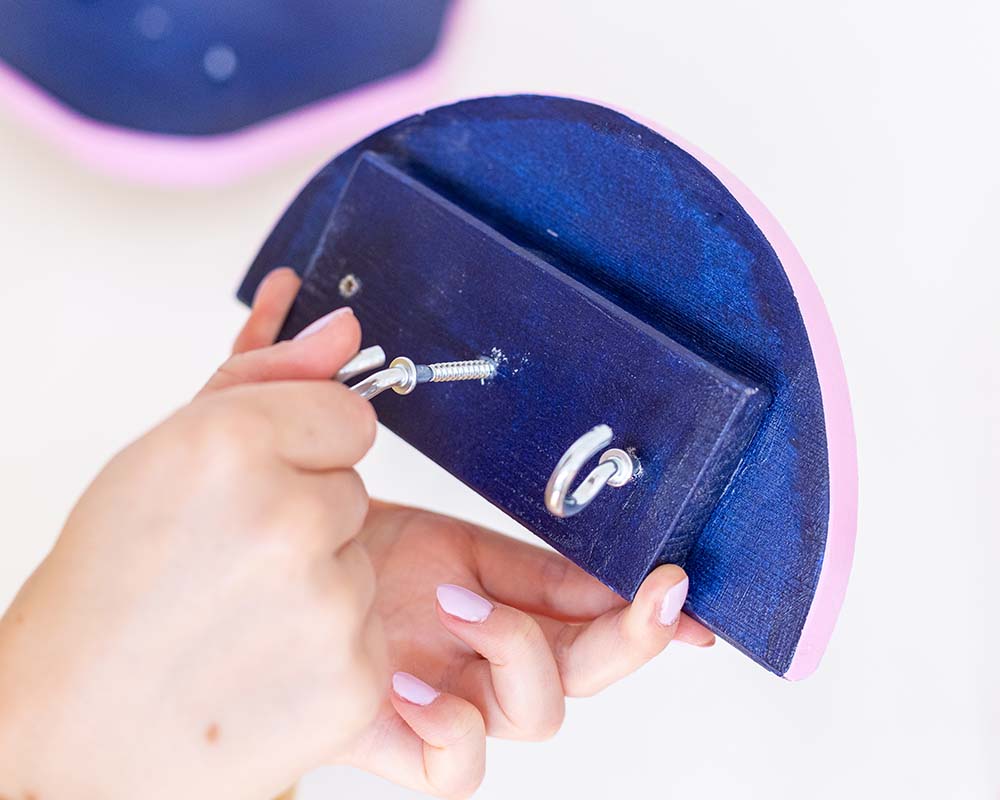
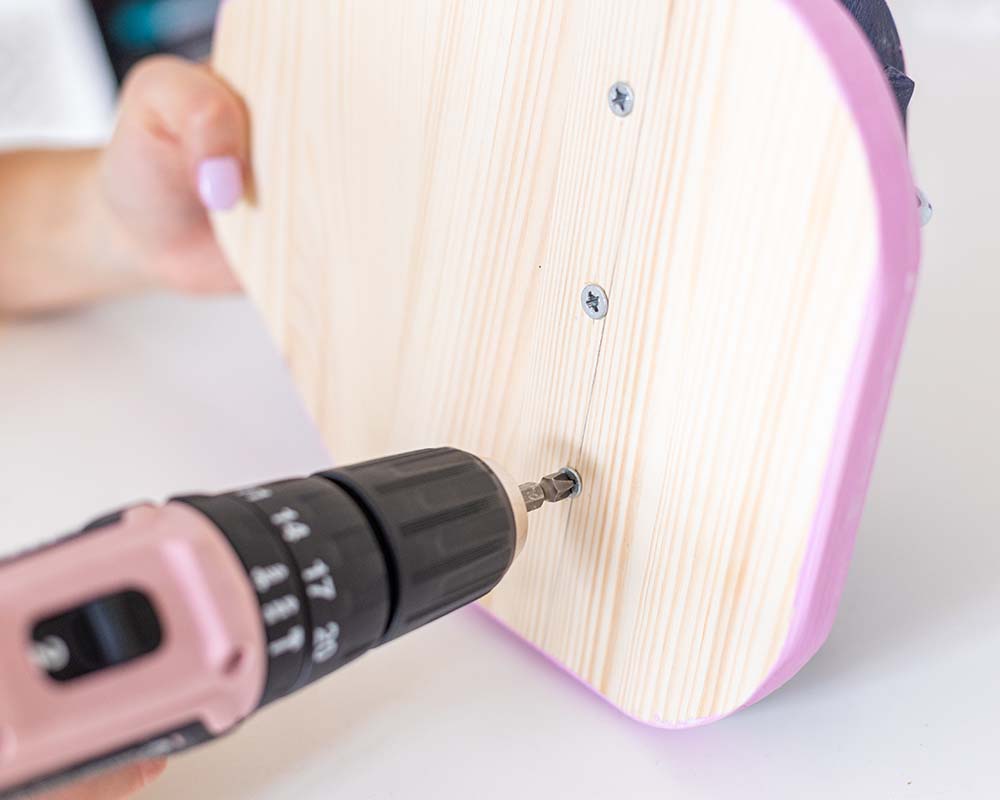
A DIY key rack with integrated storage can keep your hallway tidy and add a personal touch to your entryway. With just a few simple materials and a bit of creativity, you can design a custom key rack with space for keys, small plants, and other items. It’s perfect for anyone who wants to combine functionality and design!

Share with friends
Marabu products you need...

…additionaly things you need

Wood (approximately two pieces measuring 20 by 20 centimeters and one smaller block measuring approximately 15 centimeters long)
compass, ruler
jigsaw or hand saw
sandpaper (and sanding block, if necessary)
cordless screwdriver
wood drill bit
hooks, screws
wood glue

How it is done:

  • First, sketch the desired design onto the wooden board with a pencil. One board can have an organic shape, while the other can have a semicircle drawn with a compass. The second board should be attached vertically as a shelf. Attach a smaller piece of wood with hooks below the shelf. It should be smaller than the semicircle.
  • Cut the wood along the marked lines using a jigsaw. Take care to ensure clean edges and curves.
  • To smooth out rough areas, sandpaper is used to sand down the edges and surfaces. This optimally prepares the surface for further processing.
  • Small holes are pre-drilled at the designated locations for the hooks. The hooks will be screwed into these holes later. Three additional holes are drilled into the back of the keyboard to which the shelf will be screwed.
  • The wood is now painted with the desired DO IT craft paint, such as midnight blue. Use a paint roller to apply the paint evenly. Allow the paint to dry thoroughly.
  • Additional color accents, such as the pastel pink edges, are now applied with a finer brush. For a clean color edge, you can also mask the edges with masking tape beforehand. Make sure to allow this coat of paint to dry thoroughly.
  • Protect the key rack by applying a coat of silk matte varnish with a coarse brush. This will seal the paint.
  • The smaller block should be glued flush to the wood below the rear edge of the shelf. Once the glue has dried, screw in the three hooks for the keys from below.
  • Now, screw the shelf to the back of the key rack using three screws. To hang the key rack, attach a picture hook to the top of the back with a small screw. Then, the rack can be hung on a nail on the wall.

© 2025 Marabu Gmbh