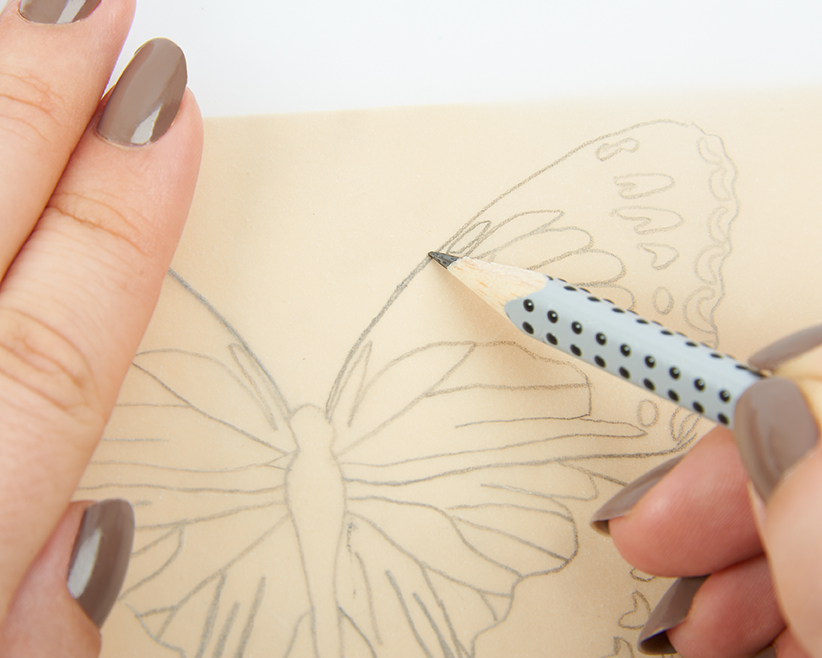
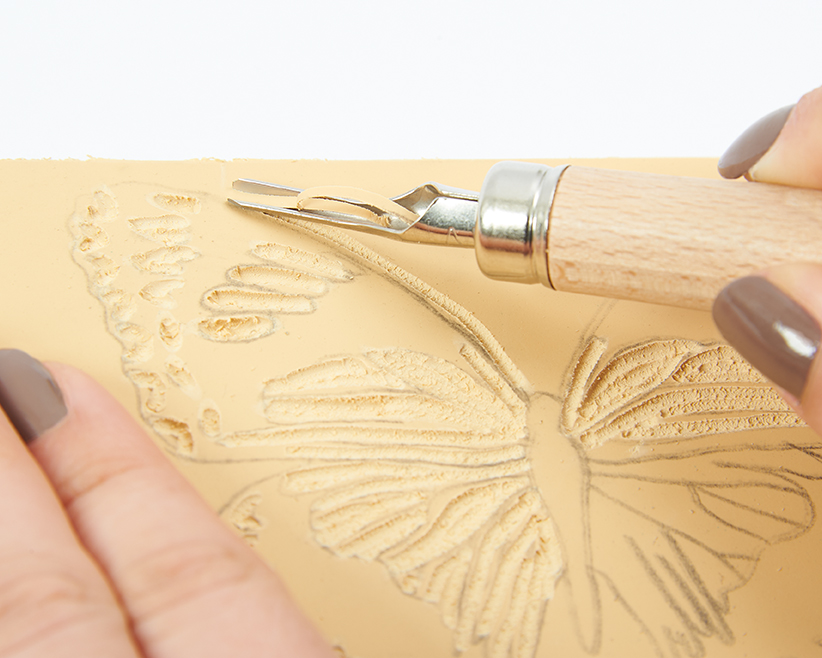
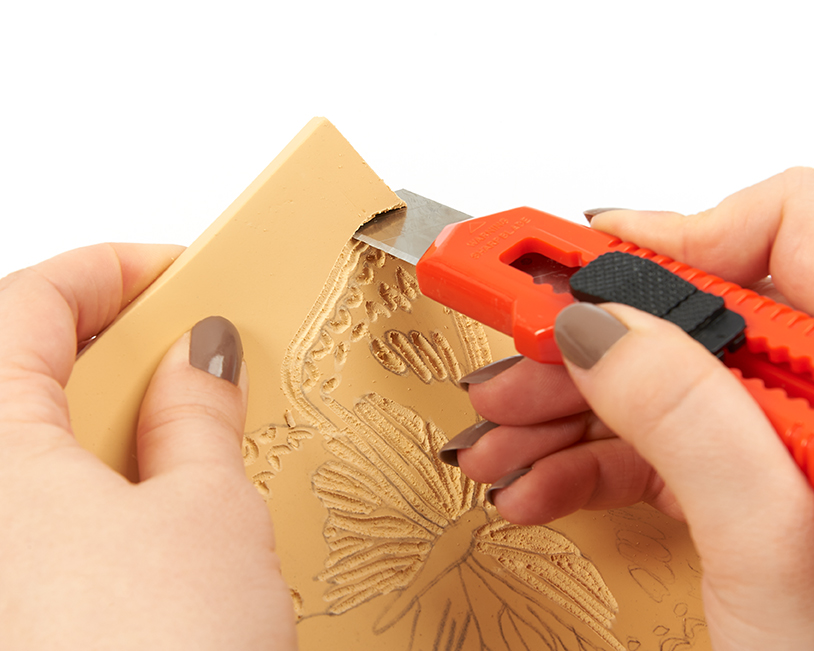
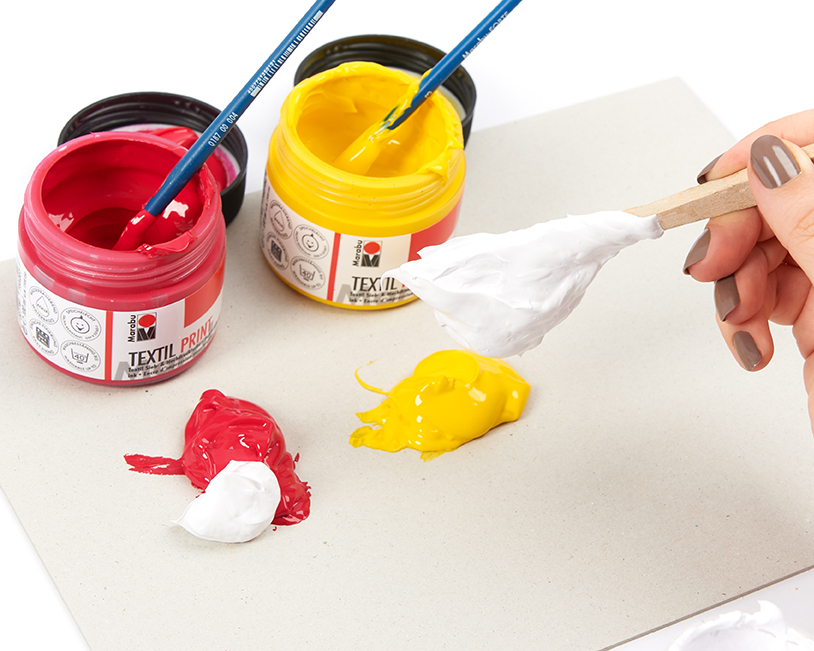
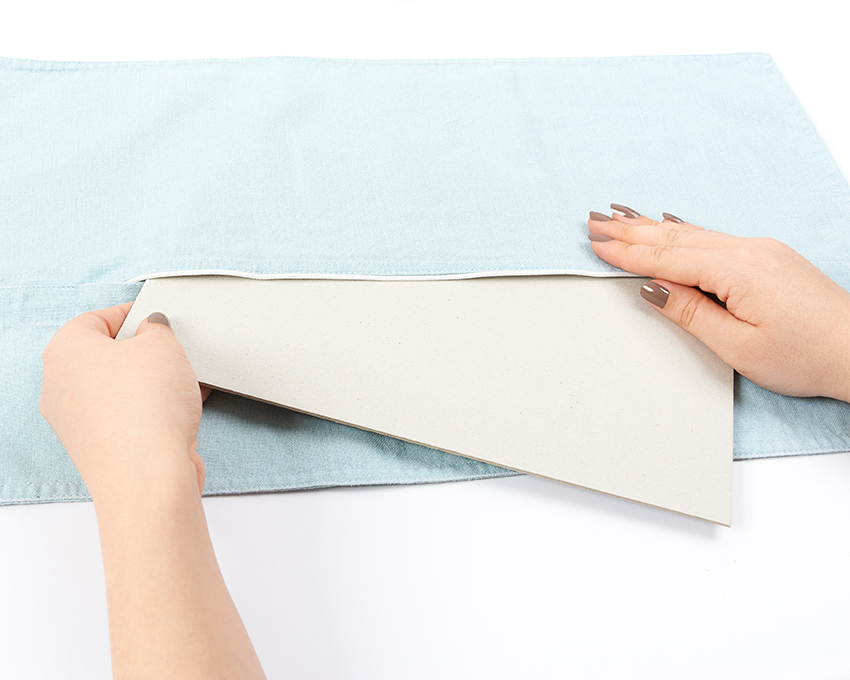
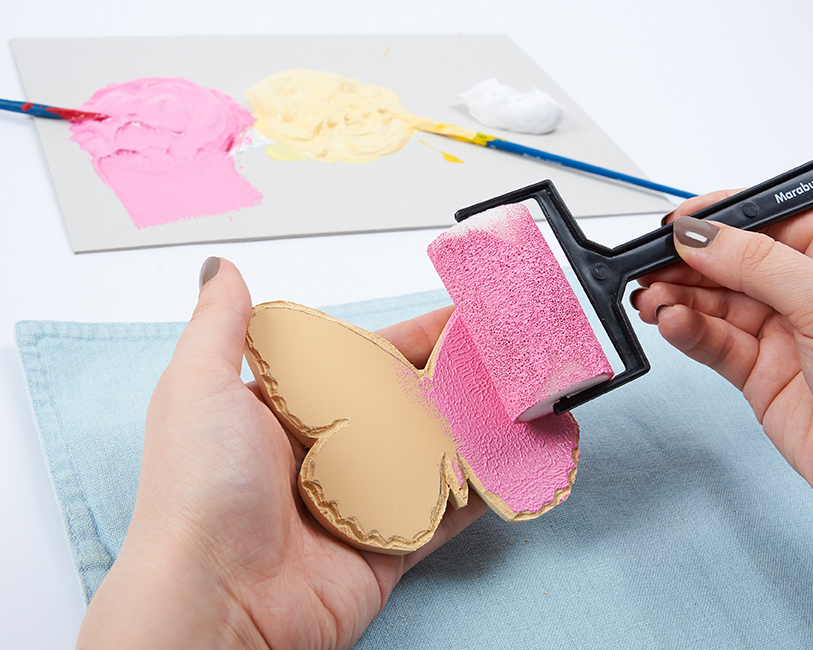
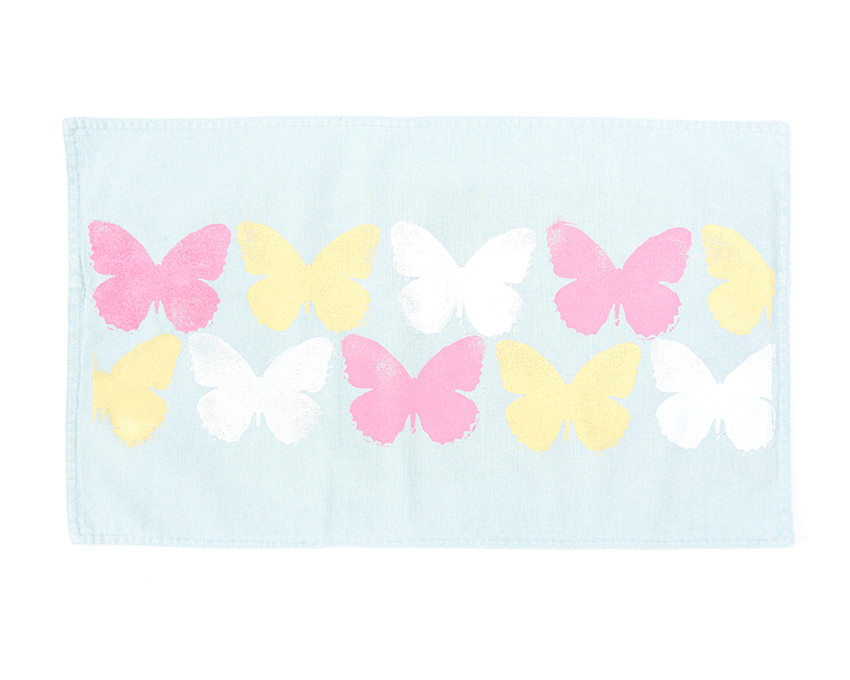
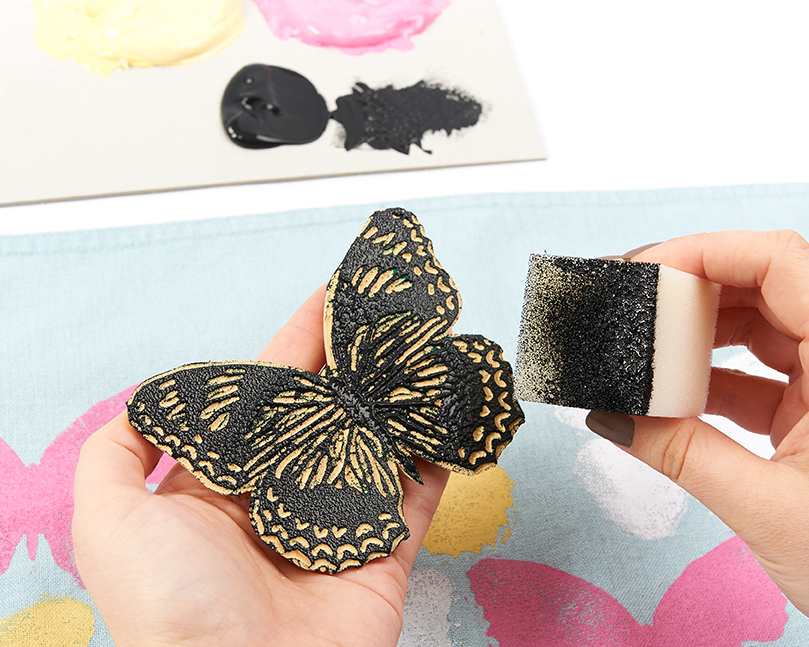
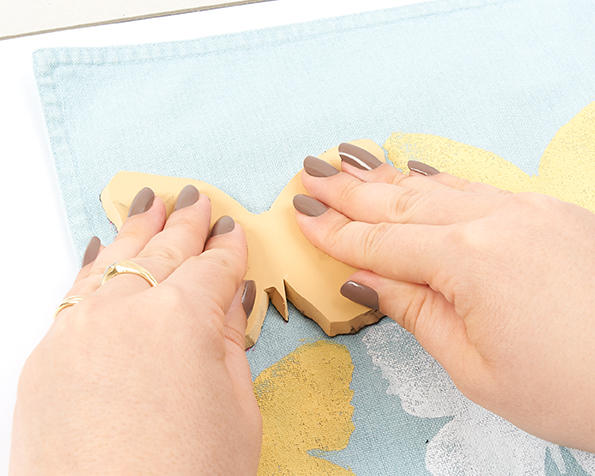
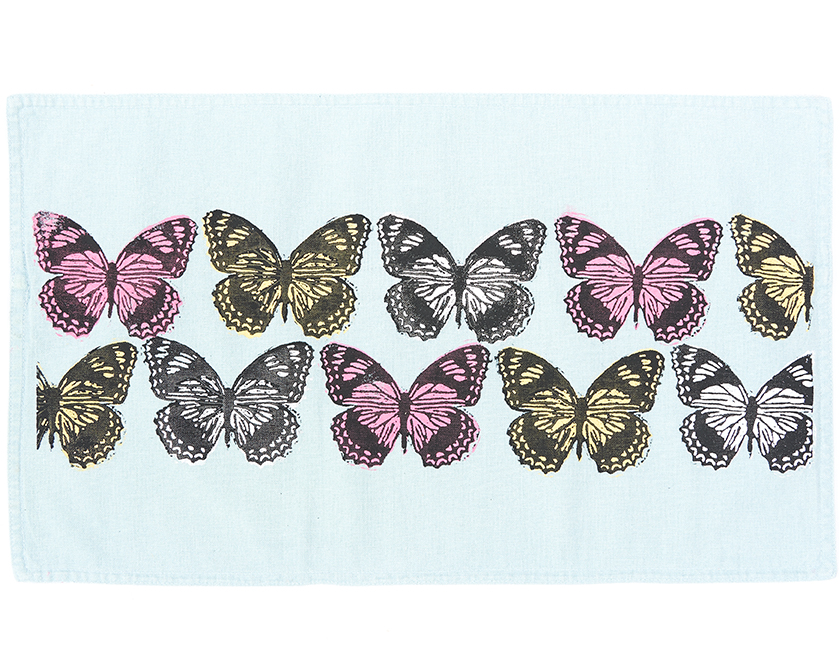
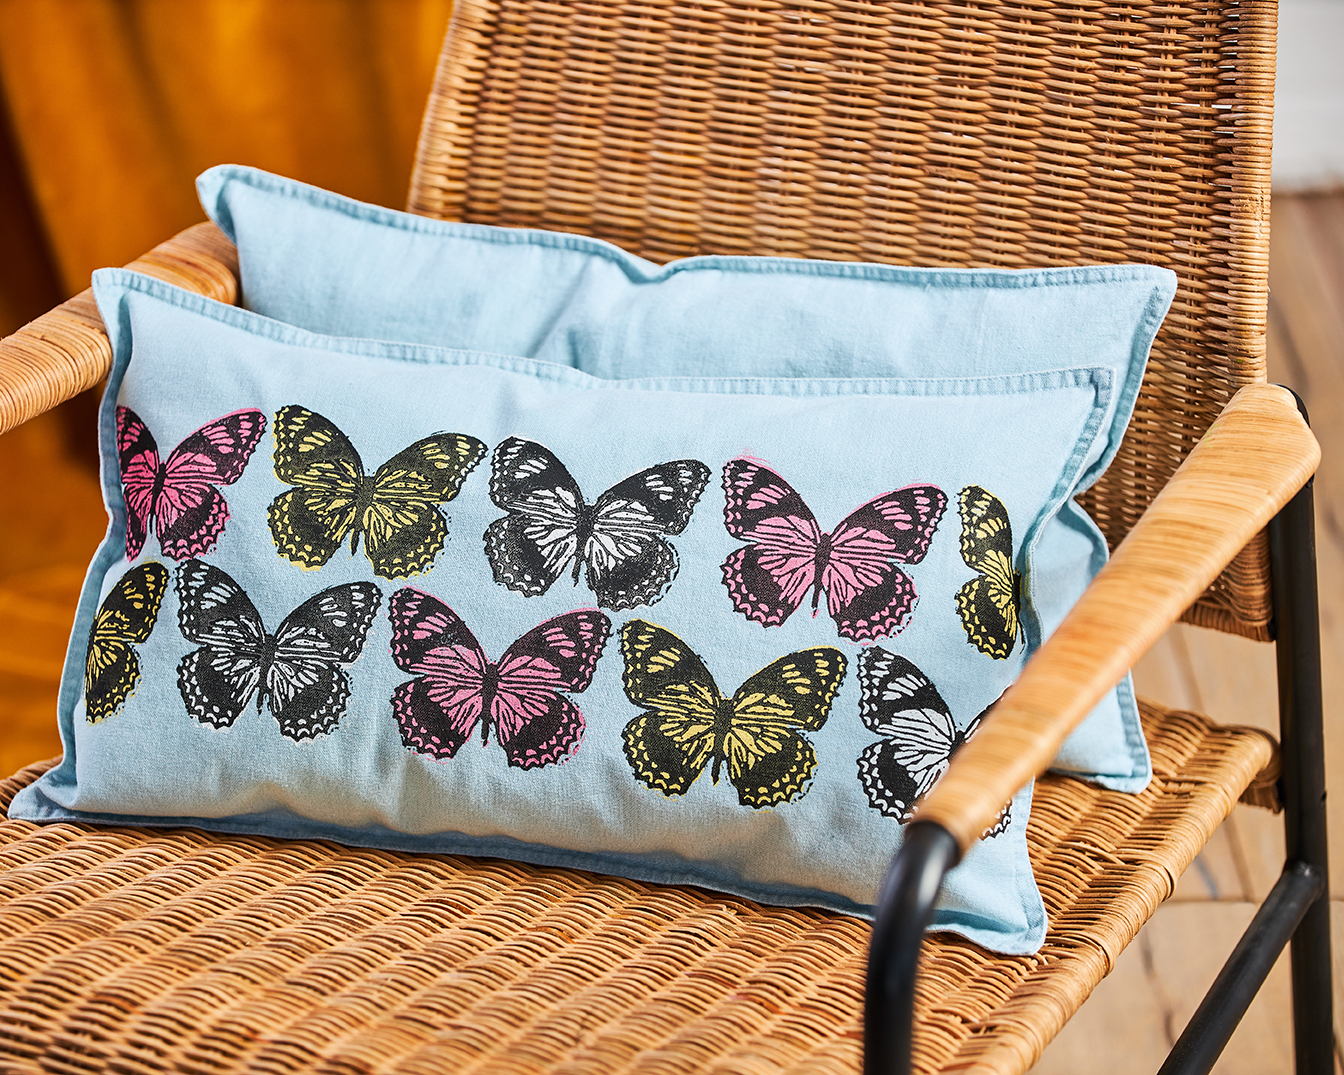
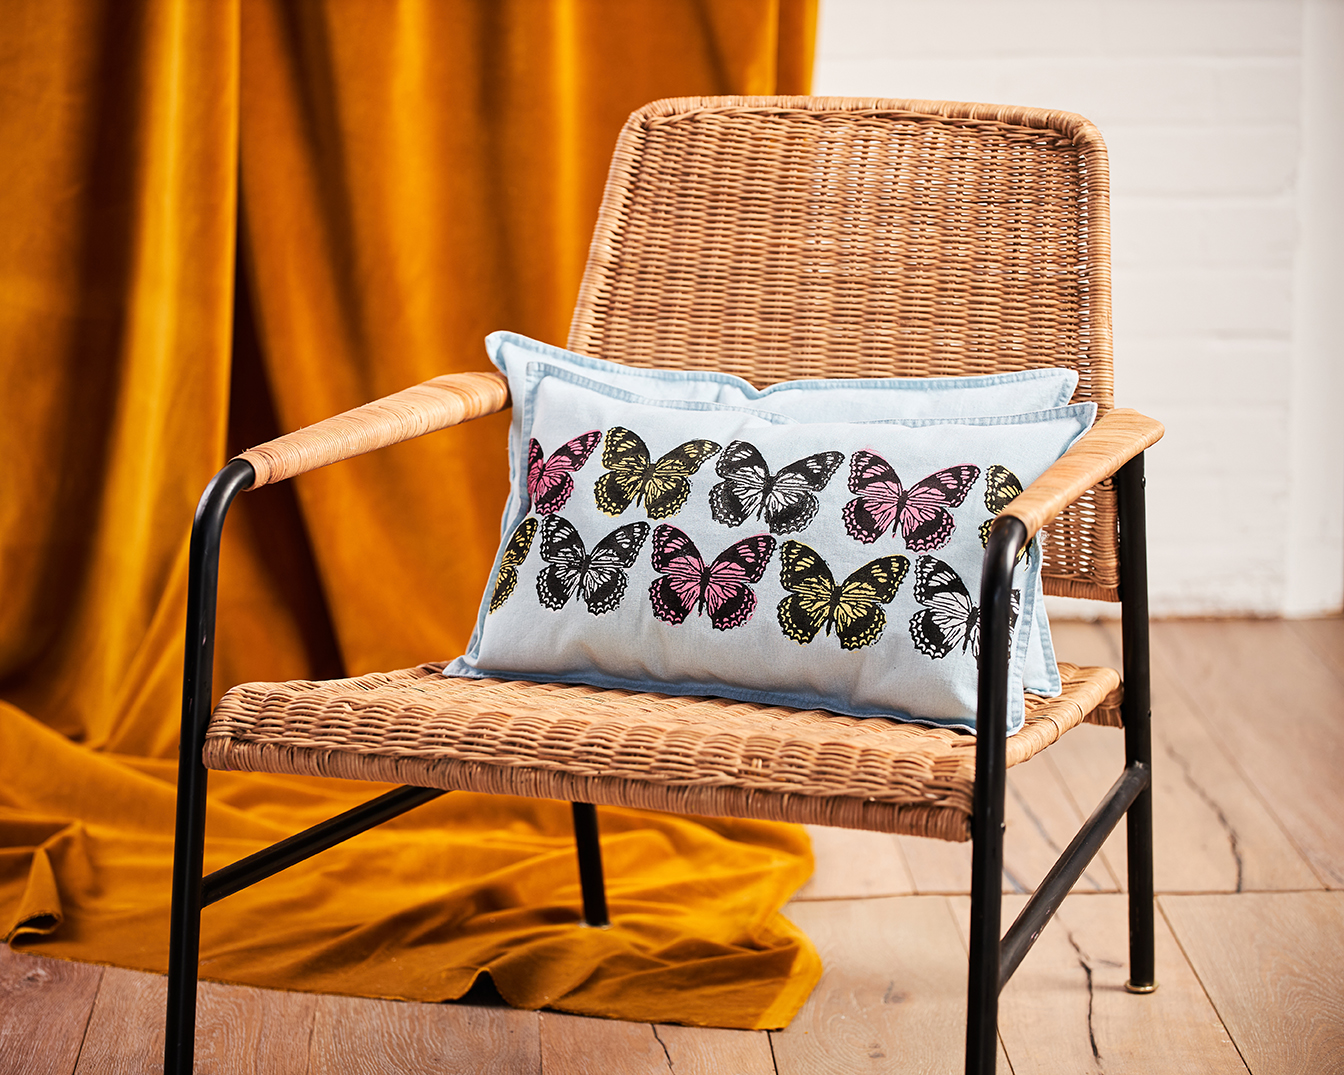
Cushion with butterfly lino print and Marabu Textil Print

We are ready – spring can come! With these enchantingly printed cushions, we can bring spring into our flat or house. The cushions are self-printed with lino. Wonderfully fresh for spring!

Share with friends
Marabu products you need...

…additionaly things you need

cushion cover made of cotton (max. 20% synthetic fibre content)
cardboard, paper
cutter, scissors
tracing paper
ironing board, iron
thin cotton cloth

IT’S EASY WHEN YOU KNOW HOW!

  • Always wash painted textiles inside out with mild detergent.

How it is done:

  • Wash, dry and iron the cushion covers without fabric softener before printing. Prepare work materials and cover the work surface.
  • First print out the template, place the tracing paper over it, fix it with tape and transfer the lines of the butterfly onto the tracing paper with a pencil.
  • Place the tracing paper on the linoleum plate with the transferred pattern facing downwards. Then either rub over it evenly with a folding leg or trace the lines again with a pencil so that the pattern is transferred to the linoleum plate. Transfer only the outlines of the butterfly onto the first lino plate (filled butterfly, see point 8). Transfer the fine details of the butterfly onto the second lino plate (see point 11).
  • Then use the carving tool to scratch out the areas of the pattern that are to remain white afterwards. Use the template as a guide. It is sufficient to cut only 1-2 mm deep.
  • Then cut the form carefully and as straight as possible approx. 5 mm away from the motif. This ensures that the printing plates can be stamped very precisely onto the cushion cover or precisely onto each other.
  • Now mix the colours. First stir the colours well and then mix the yellow and the magenta with a little white to create beautiful pastel shades. It is best to mix the colours on a mixing palette.
  • Place a piece of cardboard inside the cushion covers so that the colour does not press through to the other side of the cushion. Also carefully mark the horizontal centre of the cushion with pins. The butterflies are aligned straight on this.
  • Coat the template with the filled butterfly evenly with colour using the foam roller and stamp in pink aligned to the left of the centre of the cushion.
  • Then paint the printing plate with yellow. Stamp the second colour next to the first butterfly. Then brush with colour again and position it halfway under the first butterfly. To get particularly beautiful edges, place a sheet of paper on the edge of the cushion.
  • Repeat all the colours as required until all the completed butterflies have been stamped. Let the colour dry well first.
  • Now coat the second printing plate with the fine butterfly details with the black textile print ink. It is best to make a test print on a sheet of paper. If some details need to be better highlighted/carved, this will be clearly visible after the print.
  • Then stamp the butterfly details as accurately as possible onto the filled-in butterflies. After each print, paint the plate again. Design the cushion as desired and finally let it dry well.
  • To fix the colour afterwards, iron the motif for 3 minutes without steam after drying. However, make sure that there is fabric between the motif and the iron during ironing. Afterwards, the cushion cover is machine washable at up to 40 degrees.

DIY Ideas: Design your t-shirts with our Soft Linol Colouring Set

© 2024 Marabu Gmbh